07:00
Publishing
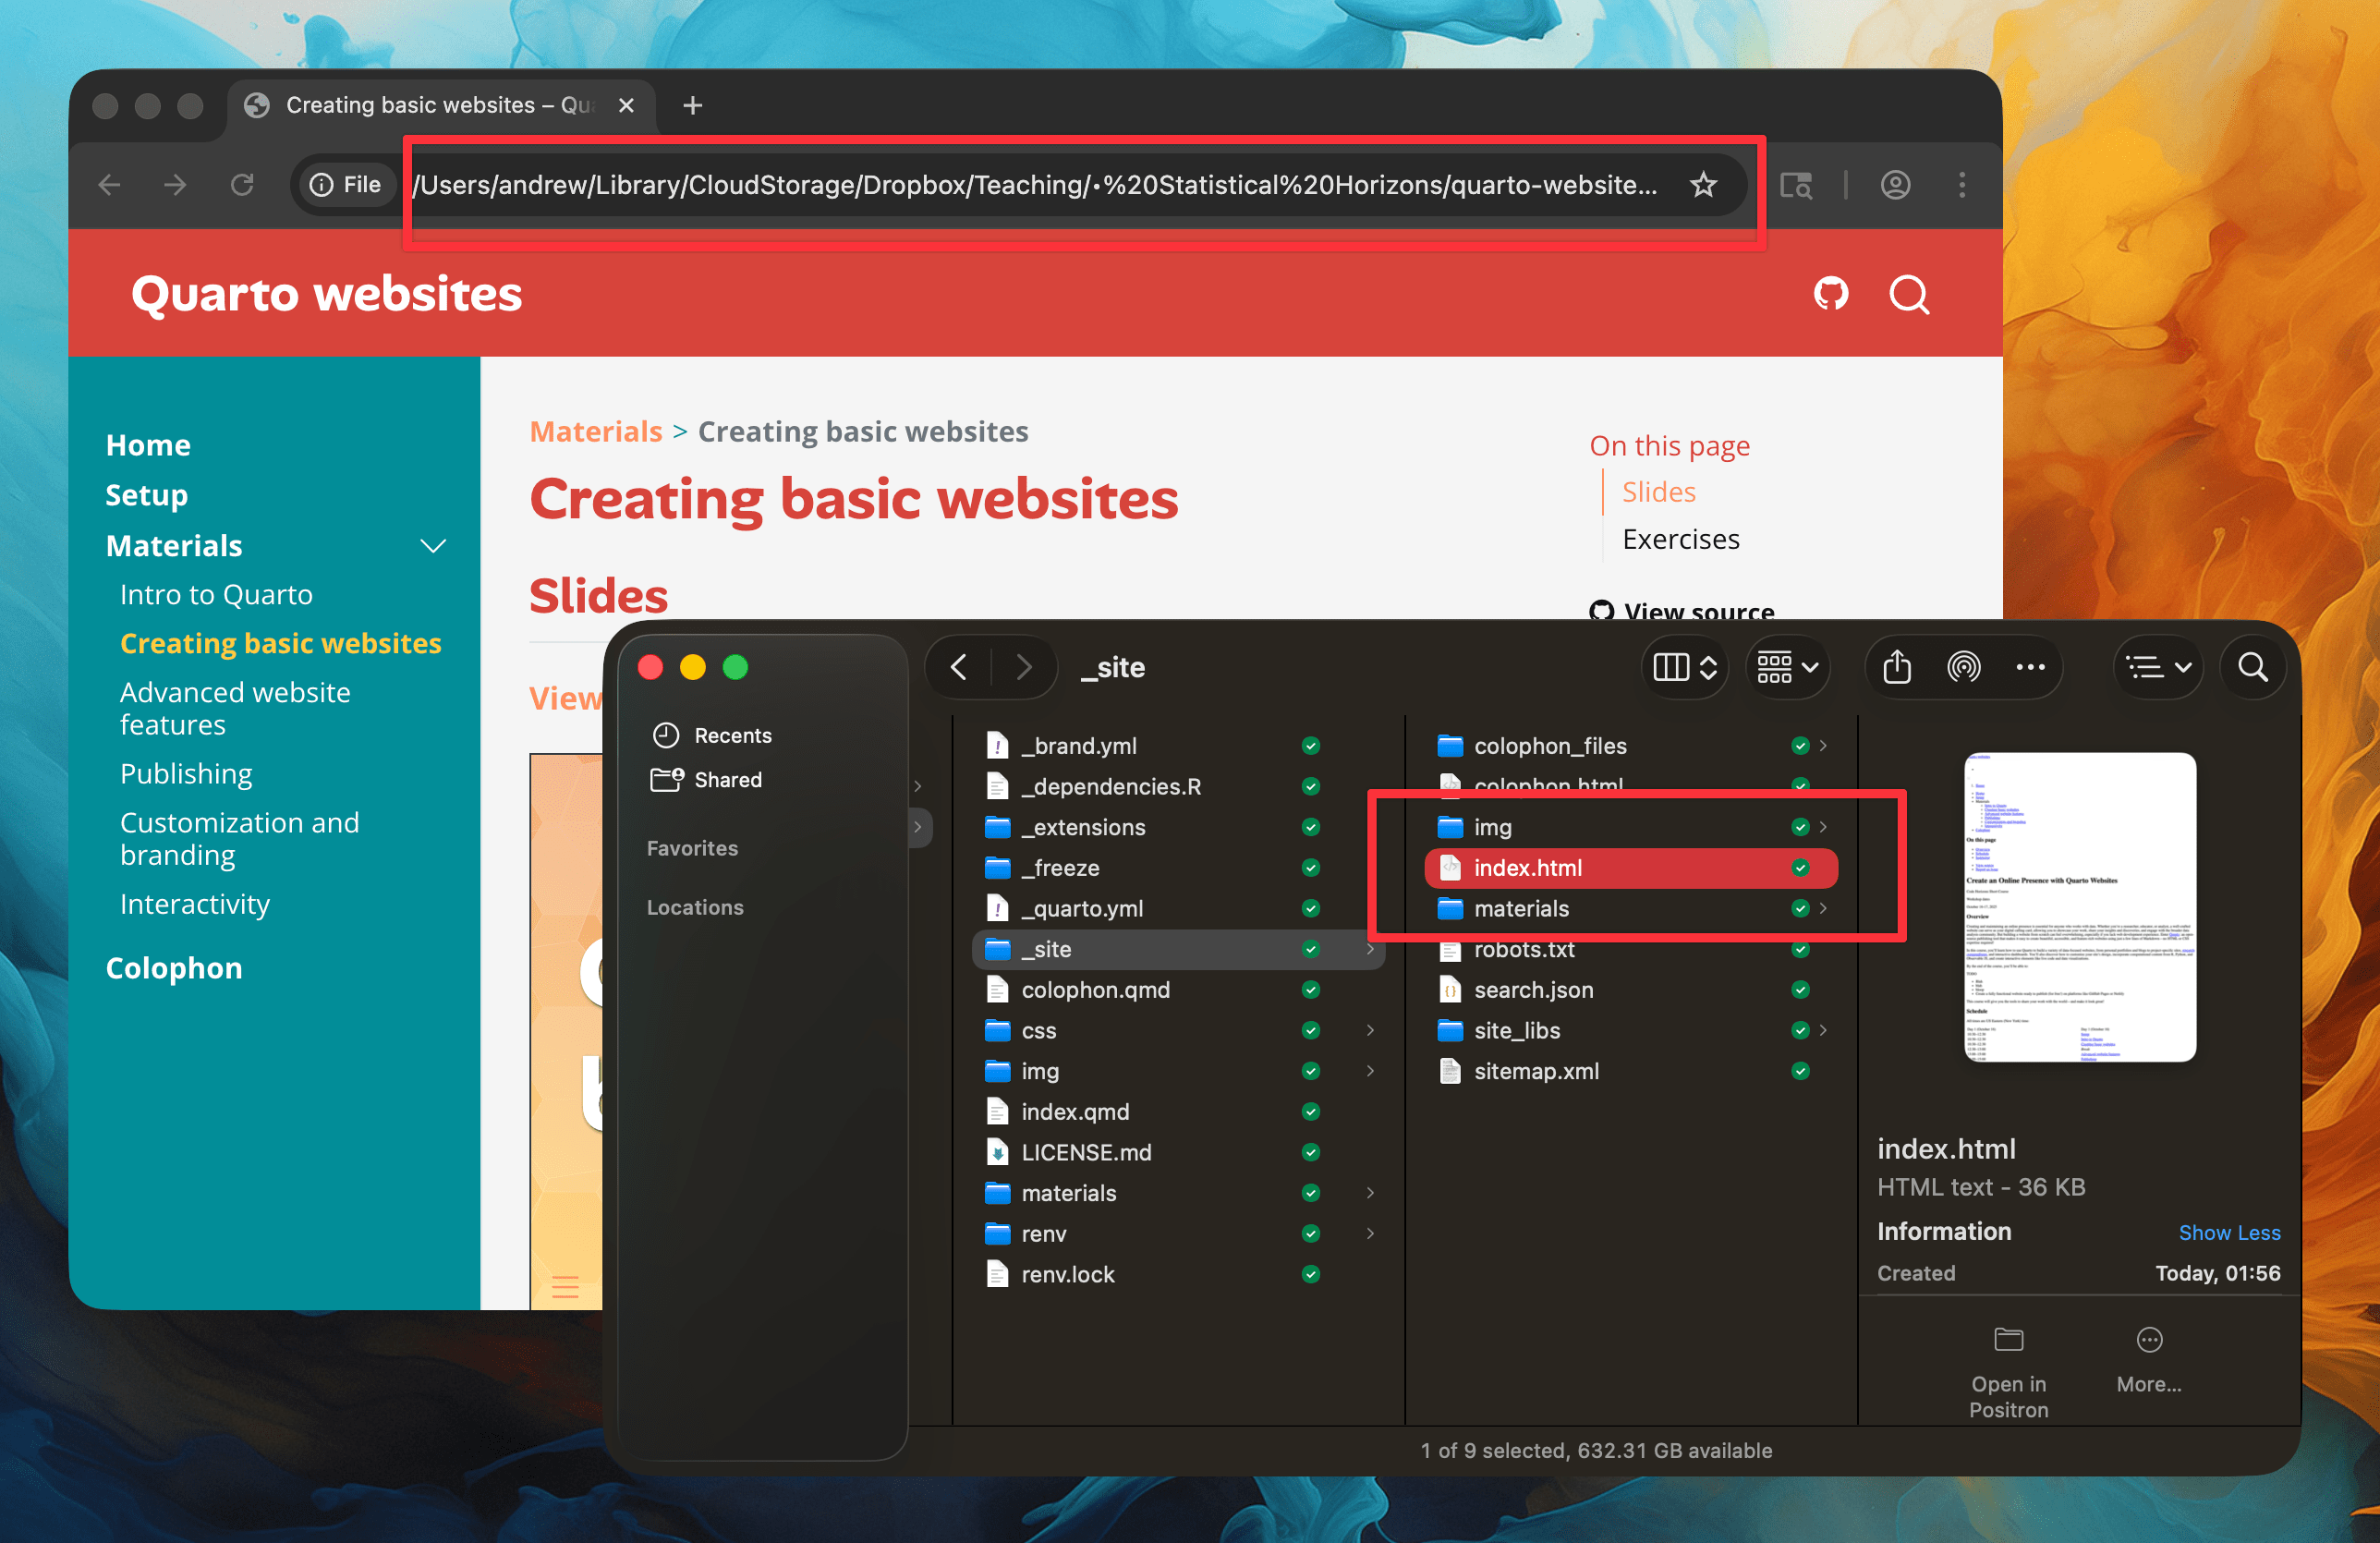
Files are real
Files live on computers
(Some are databases + files)
Quarto websites are static
There’s no need for fancy web servers—
Quarto puts the whole rendered website in _site/
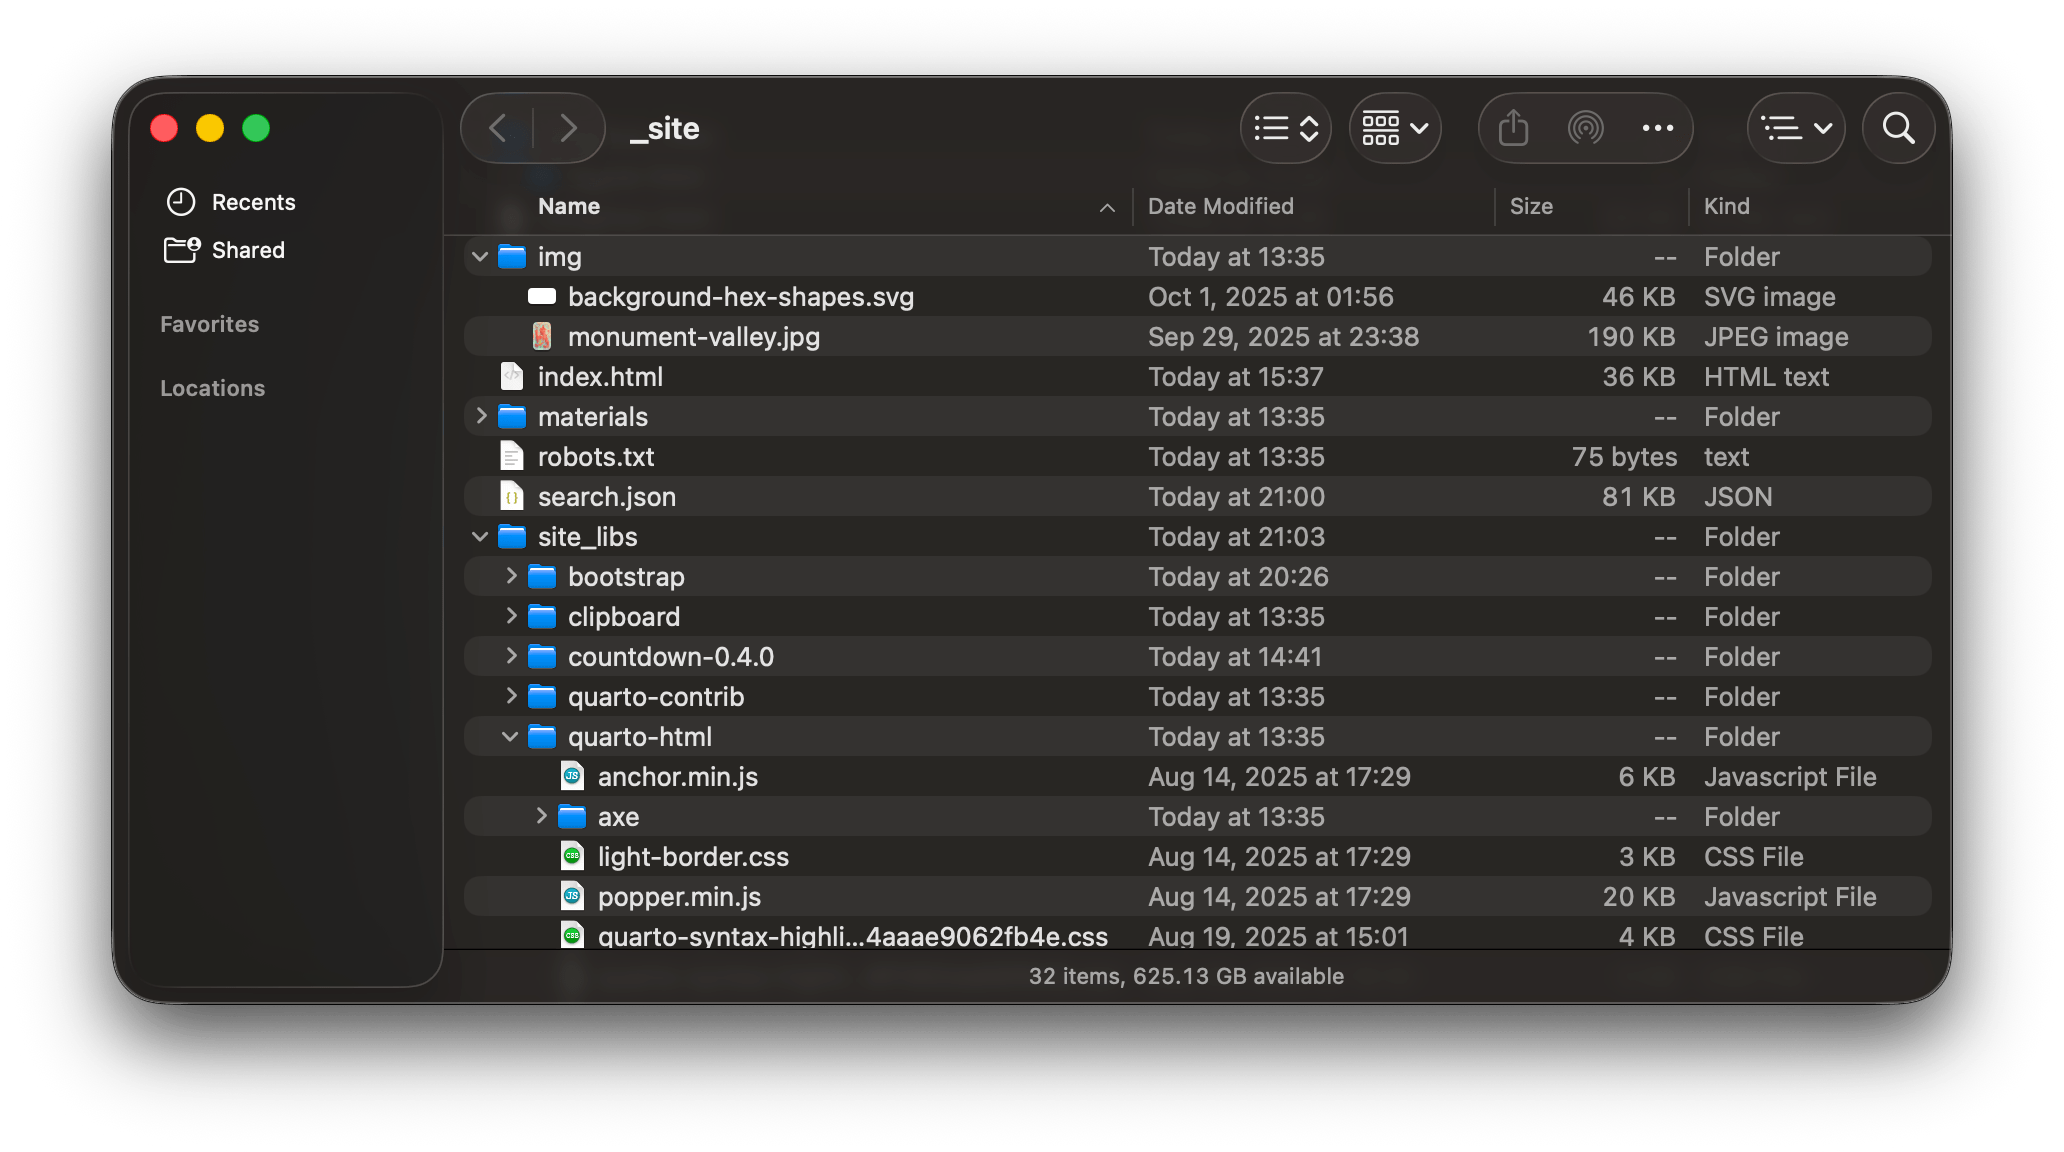
Your job is to put that _site/ on a server.
Servers
Web servers are computers that (1) store files and (2) show those files as websites to web browsers.
Local files
file:///Users/andrew/Desktop/example/index.html

Local files
Local server
http://localhost:3333/

Local server
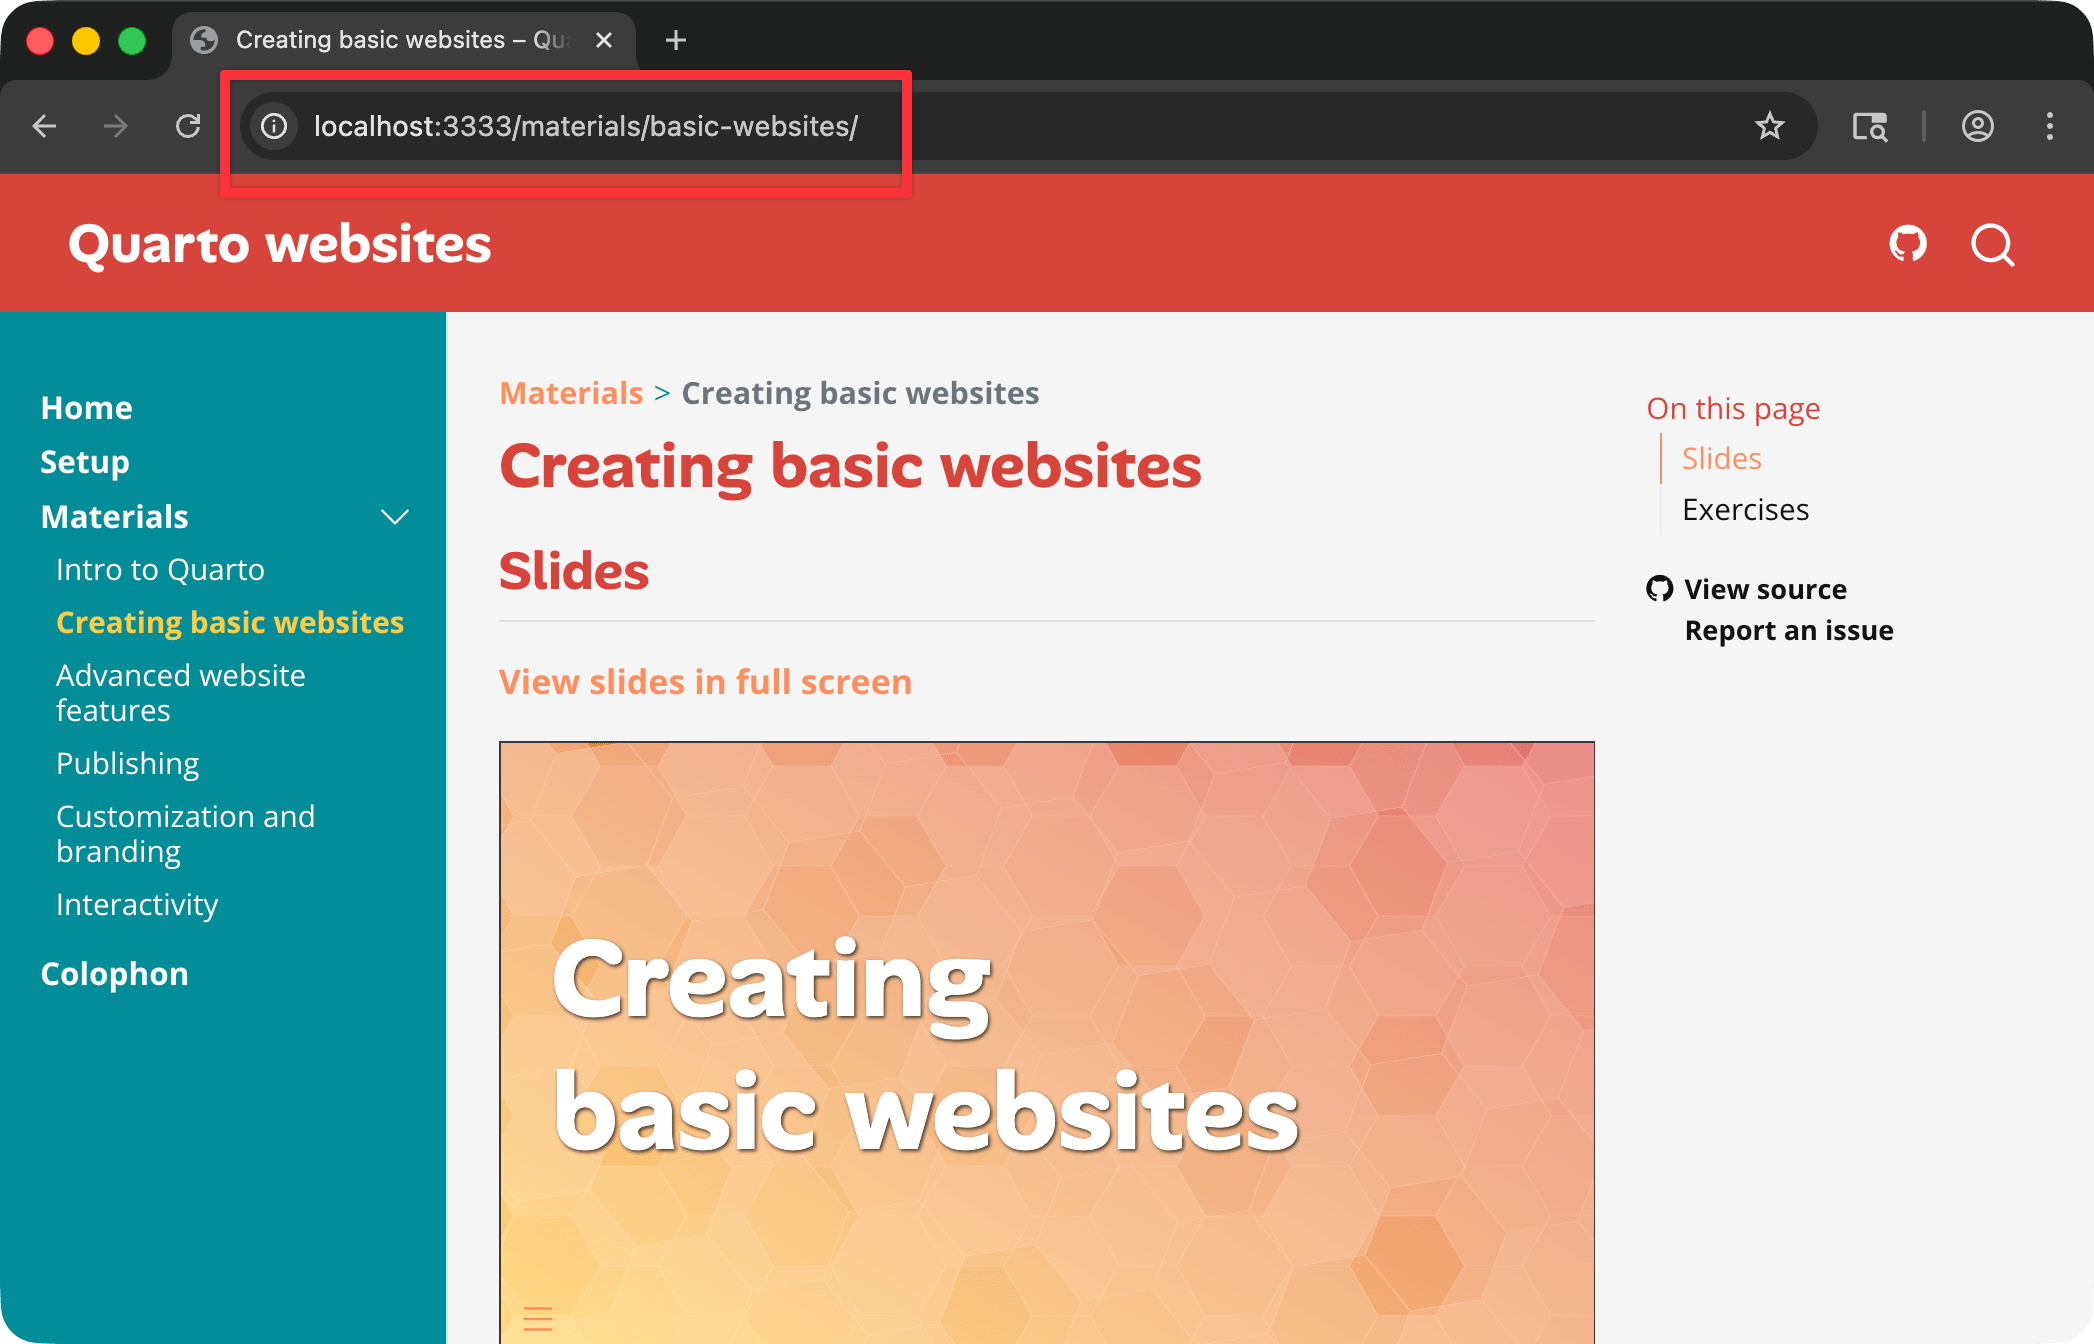
Local server
Remote server

Remote server

Domain names

Costs
Server space
Can be free!
Typically $5+/month
Domain name
Not free!
$10–20+/year
Deployment services
Quarto has built-in support for several different hosting services for publshing documents, presentations, dashboards, and websites

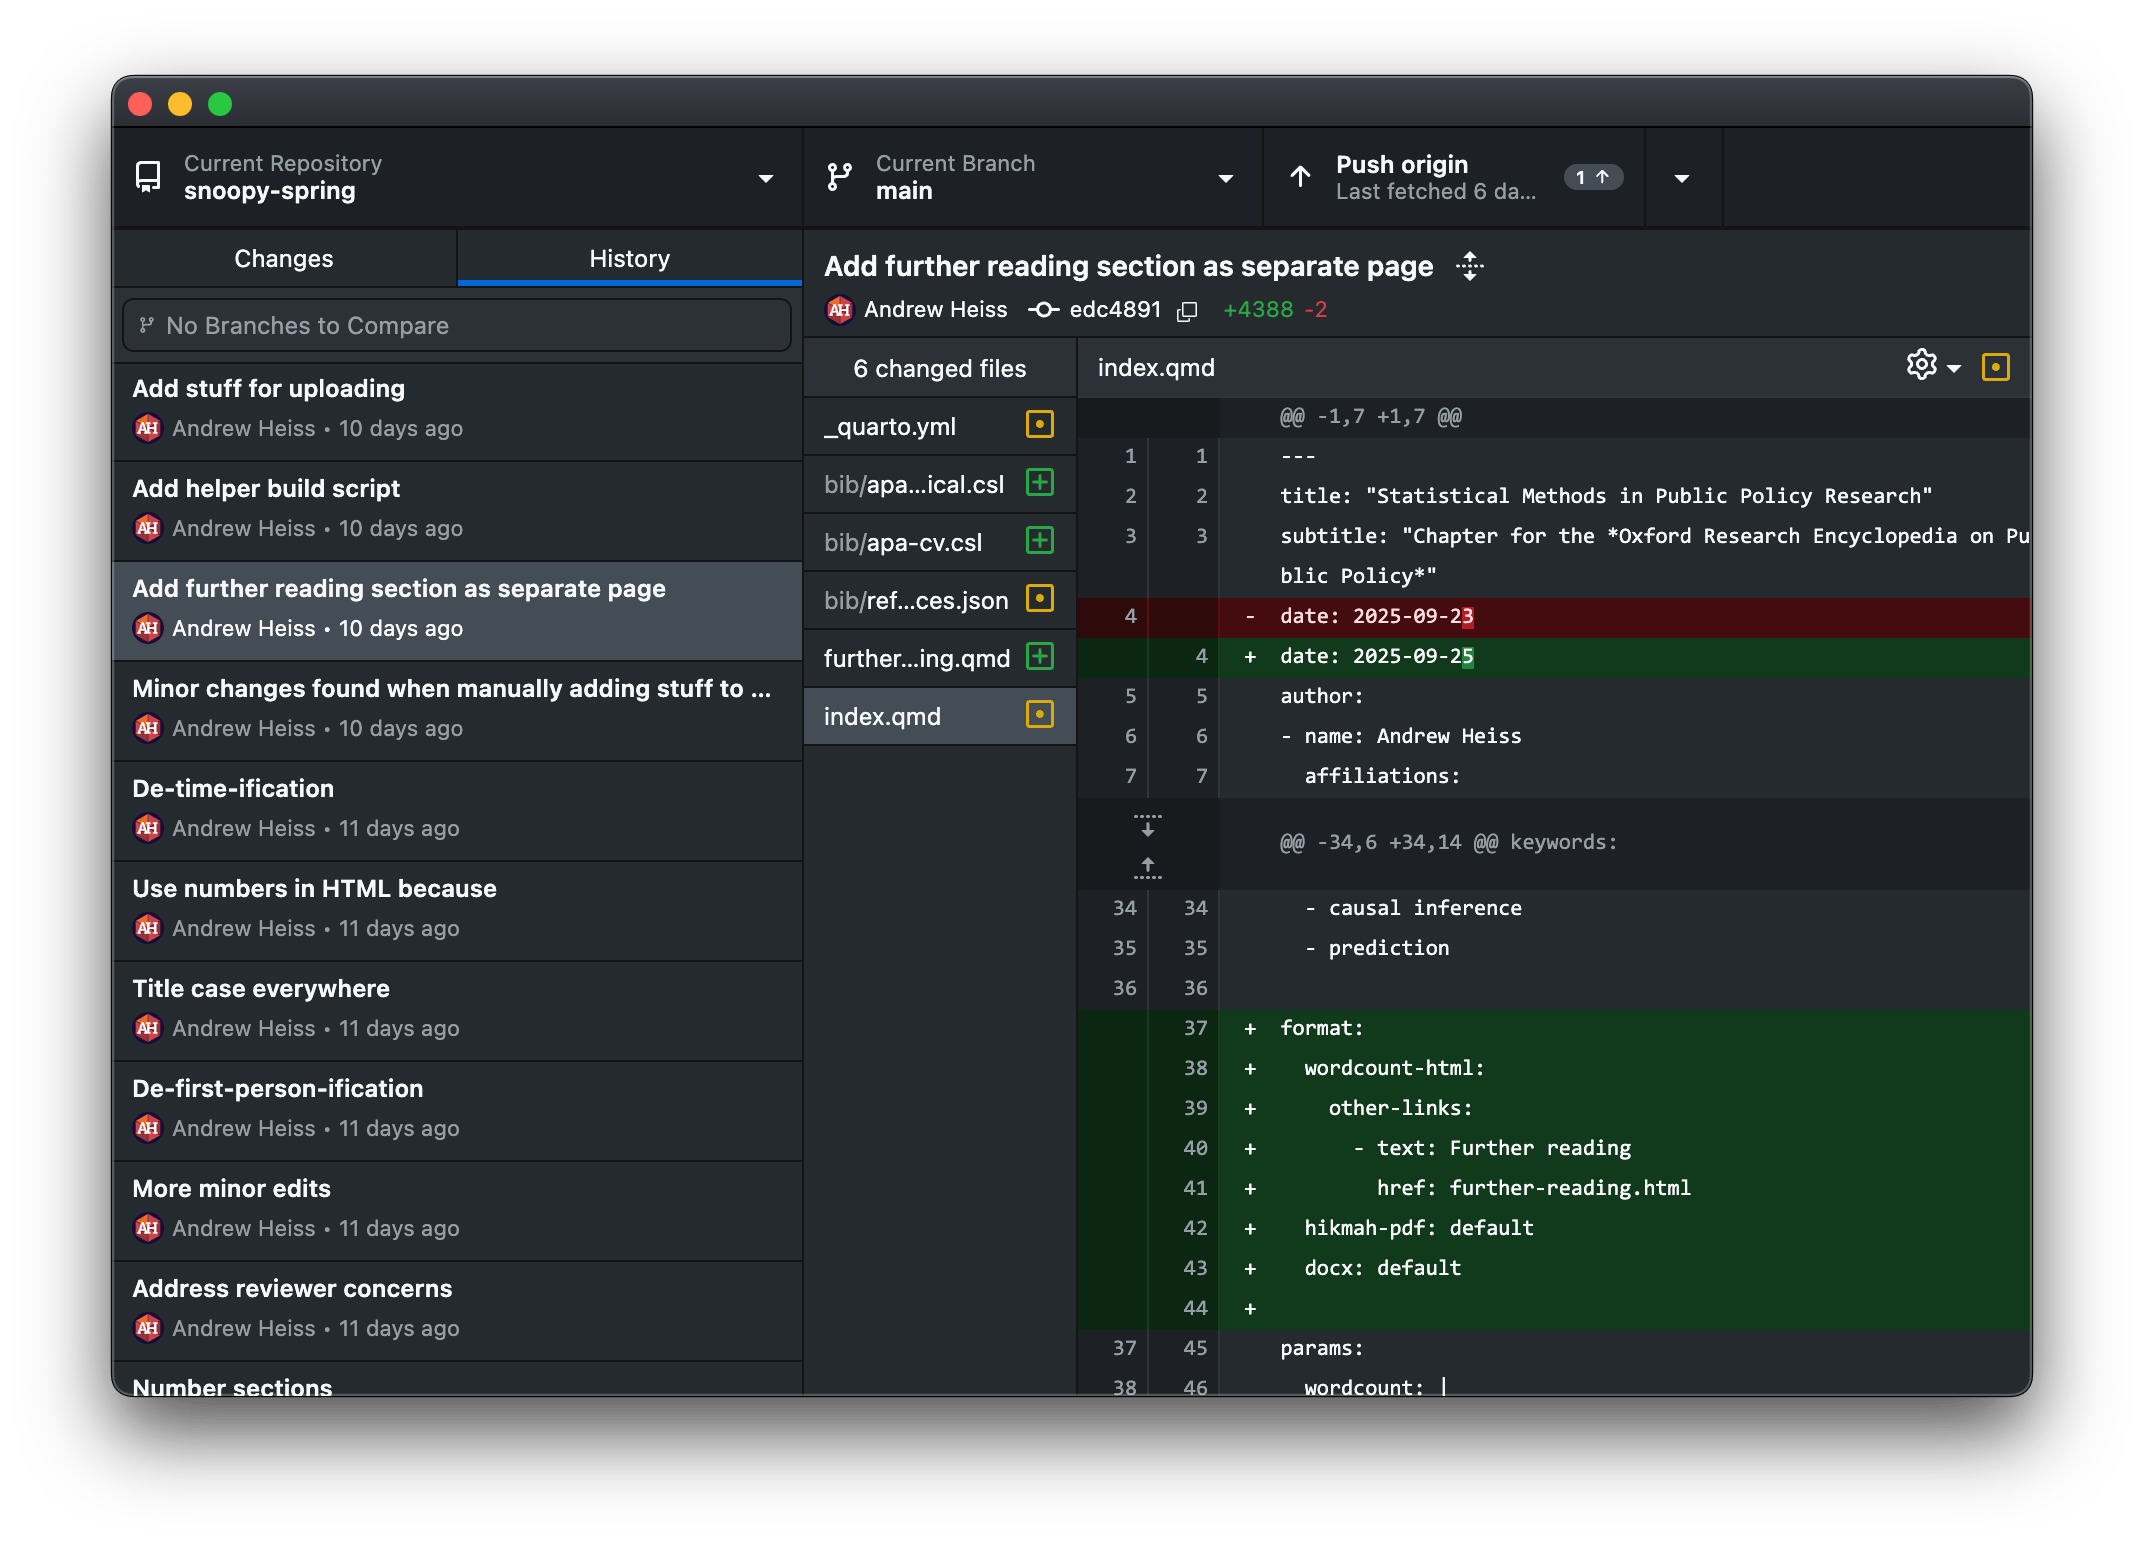
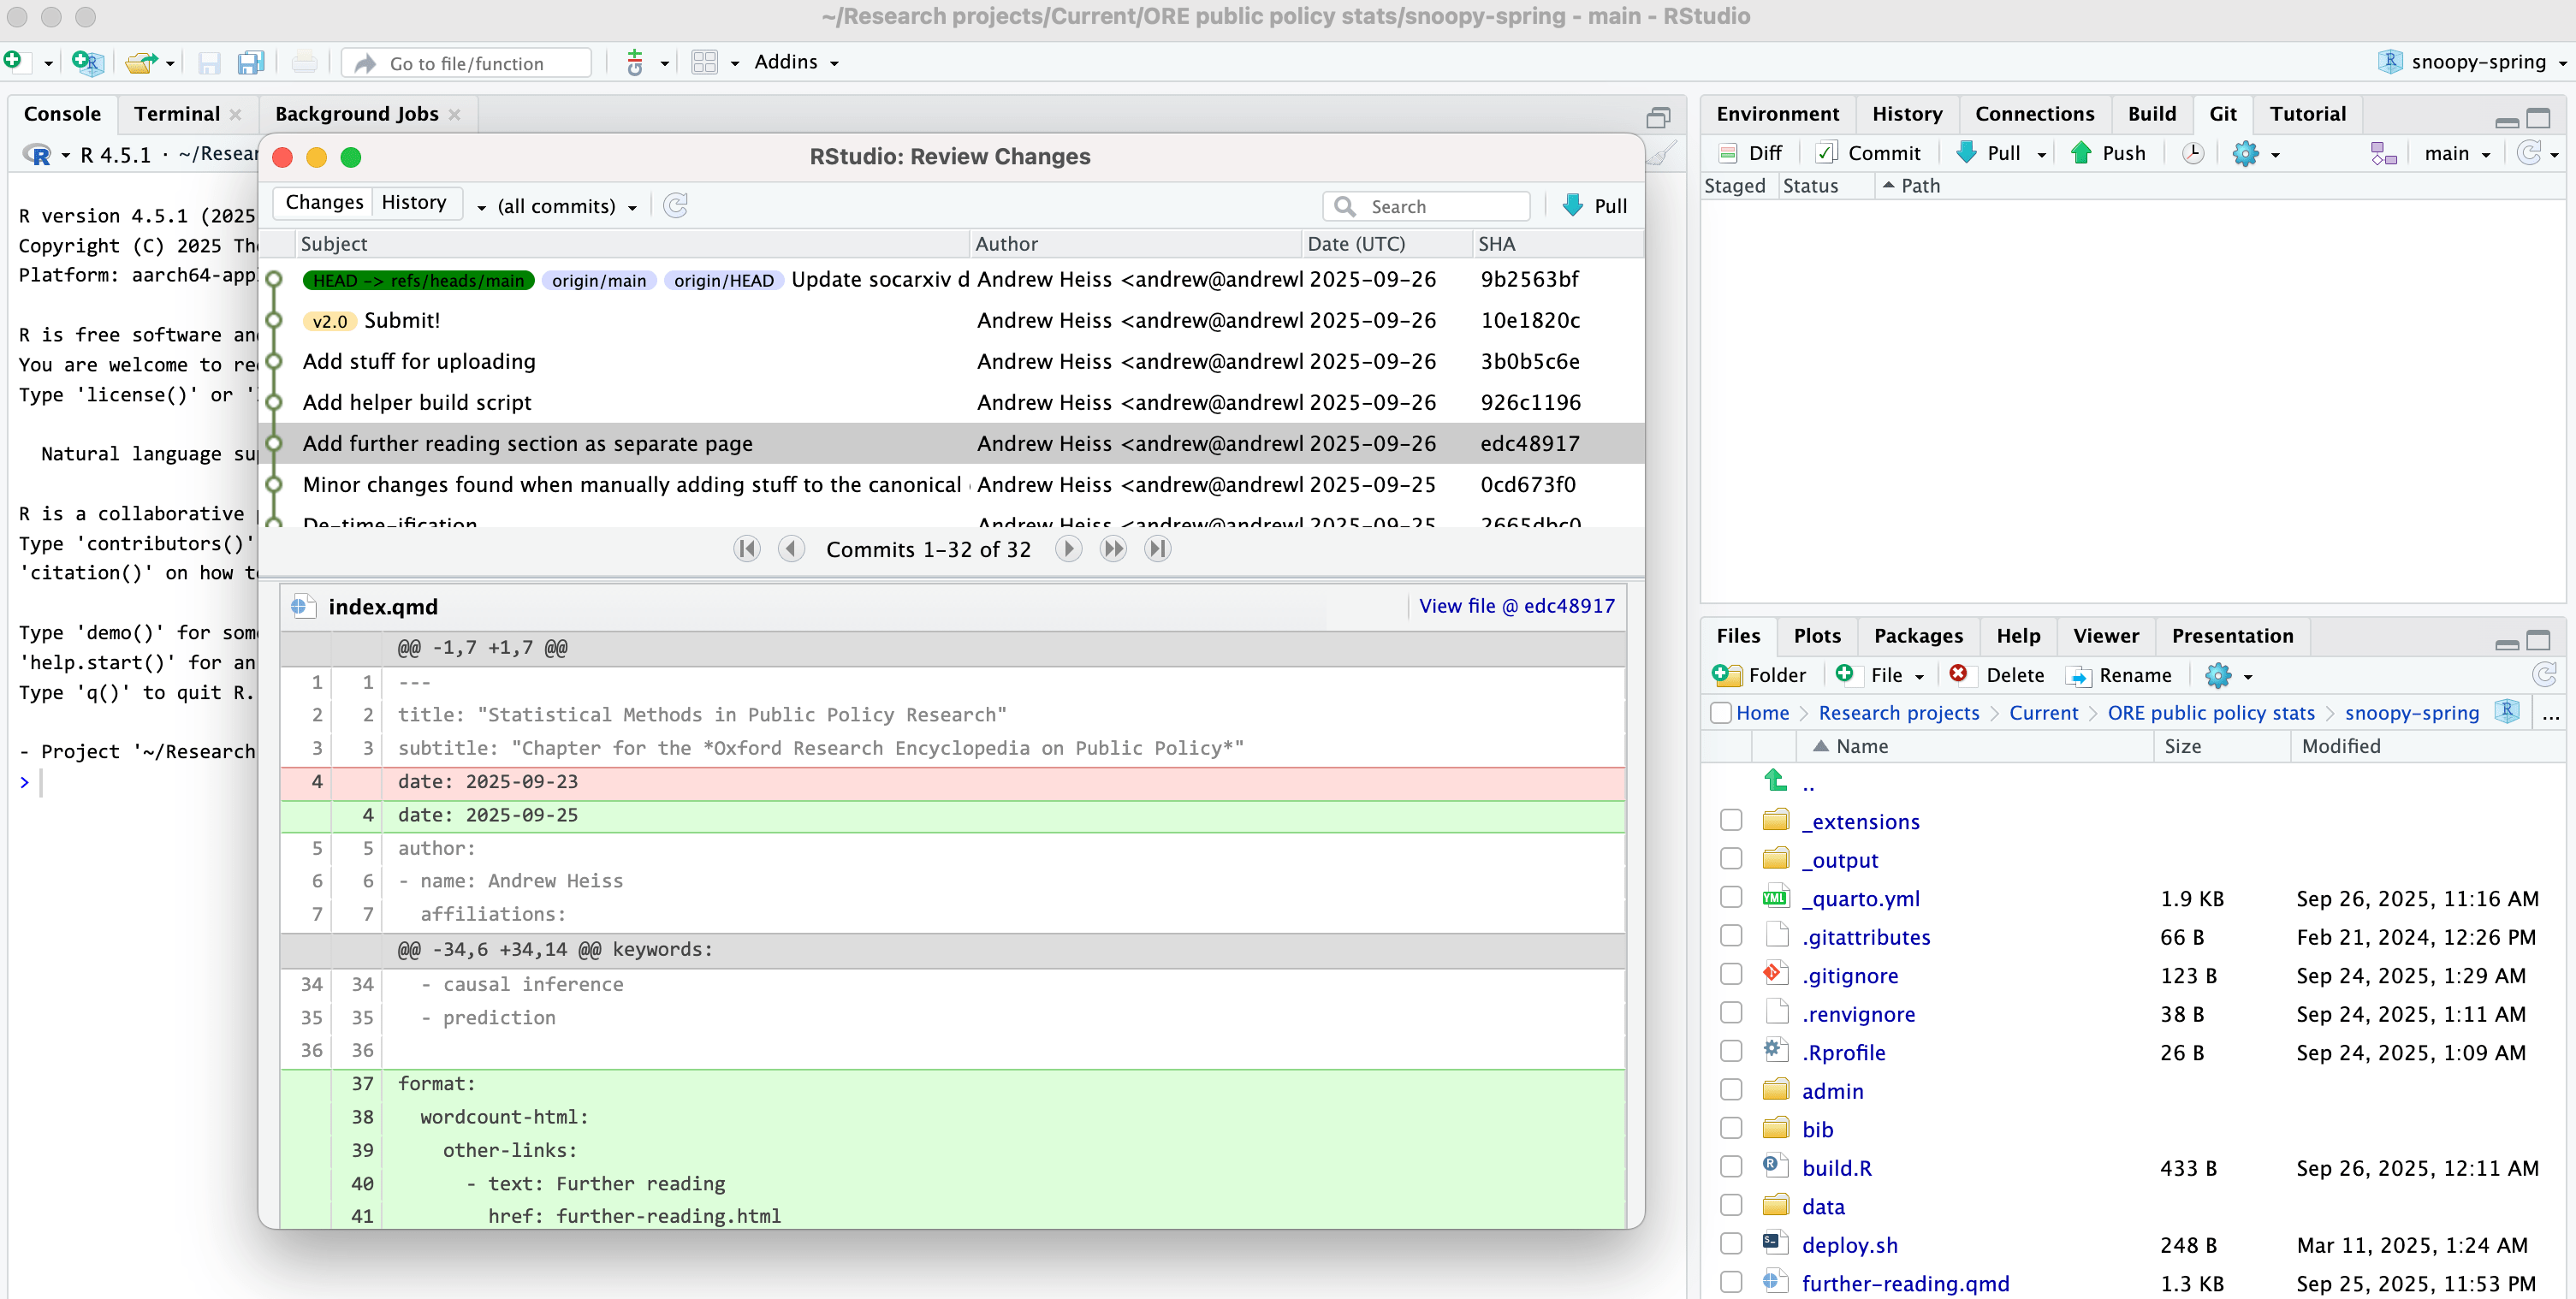
Interacting with git
Terminal
git add new-file.qmd
git commit -m "New file added"
git push origin mainHow to publish
Part 3: Tell GitHub Pages to serve your site
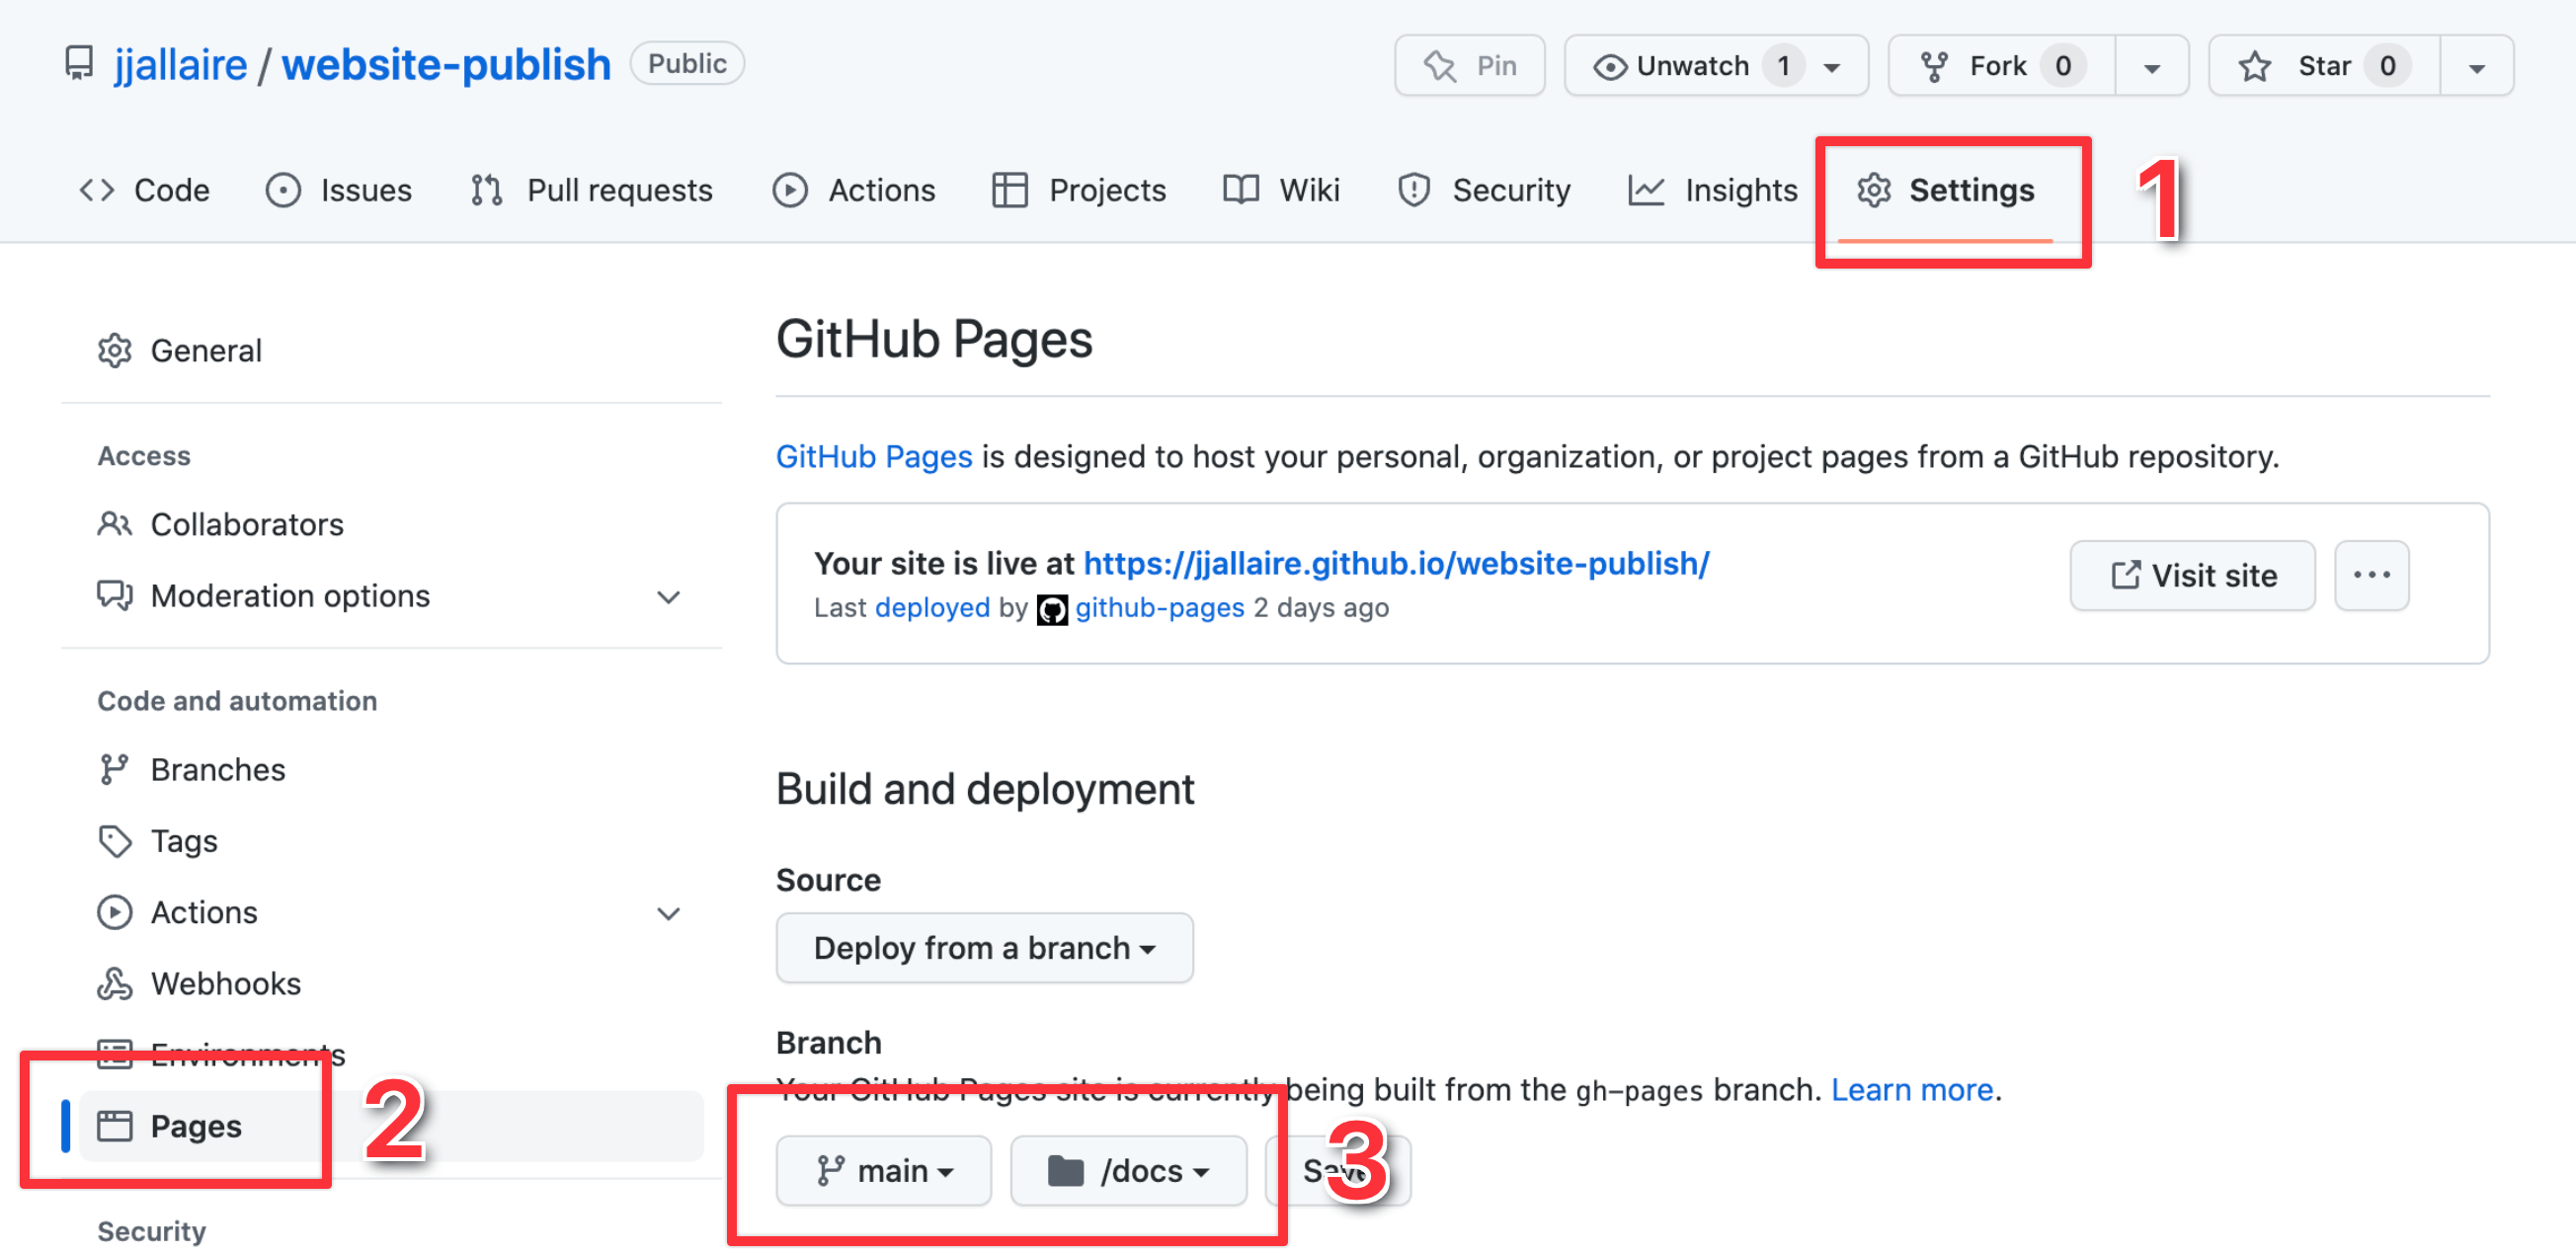
From your GitHub repository, go to Settings > Pages and configure the repository to publish from the
docsdirectory of yourmainbranch.![]()
Wait for GitHub to build and deploy the site.
Your turn, part 3
Tell GitHub Pages to serve your site
From your GitHub repository, go to Settings > Pages and configure the repository to publish from the
docsdirectory of yourmainbranch.![]()
Wait for GitHub to build and deploy the site.
10:00