03:00
Creating
basic websites


Creating a project skeleton
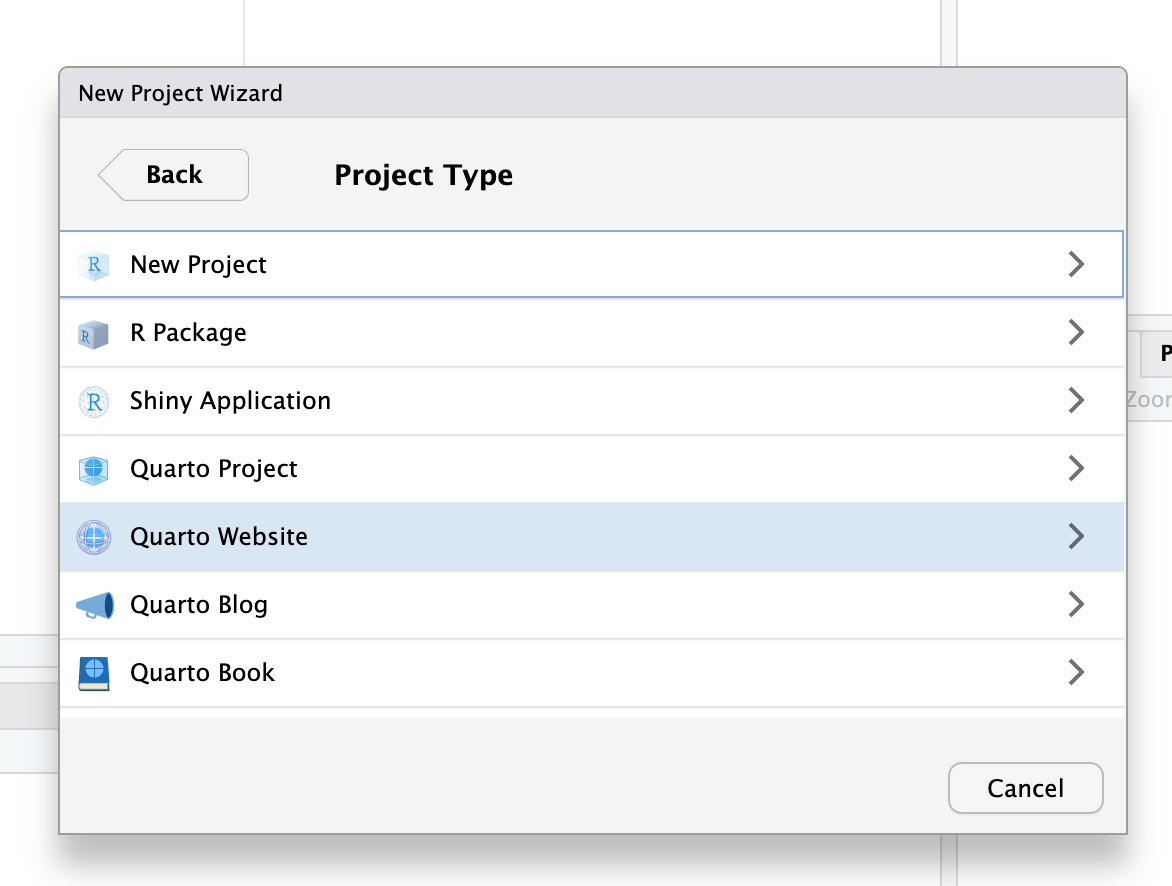
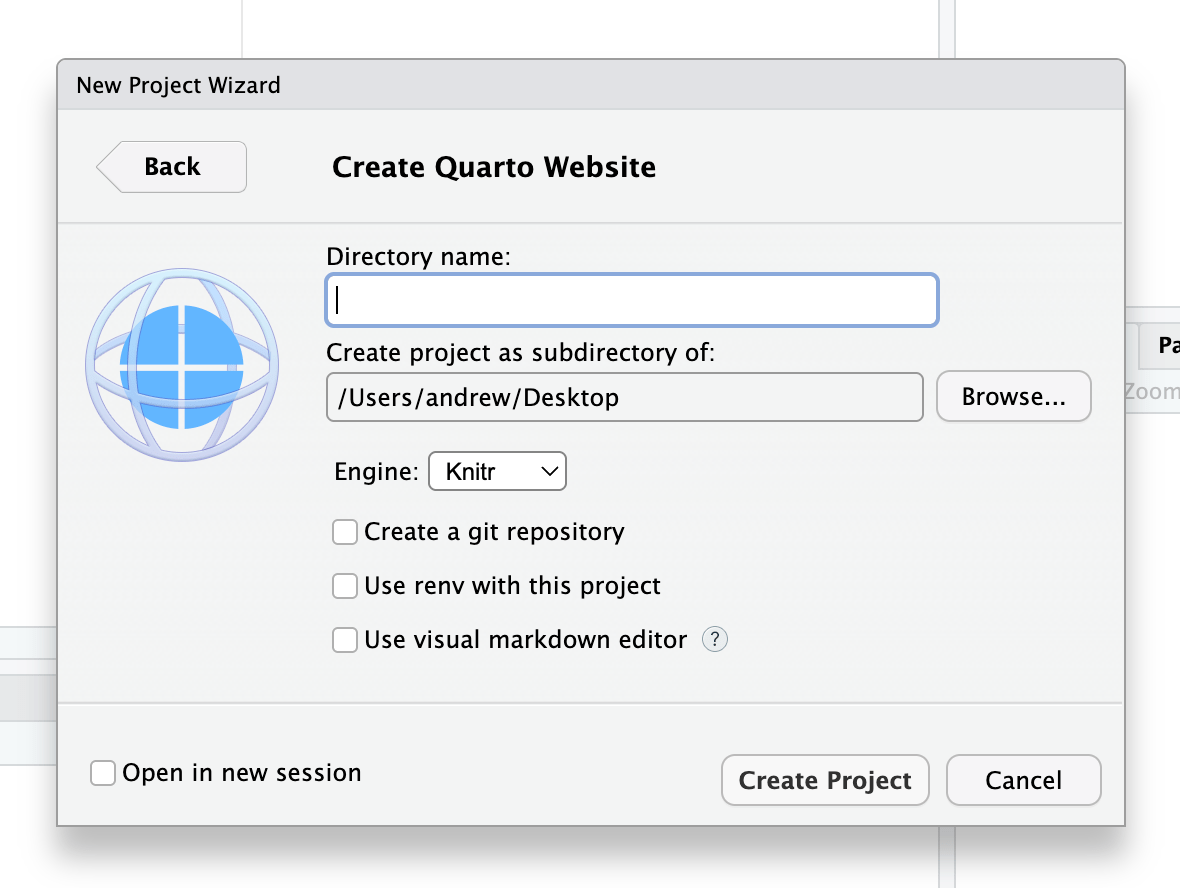
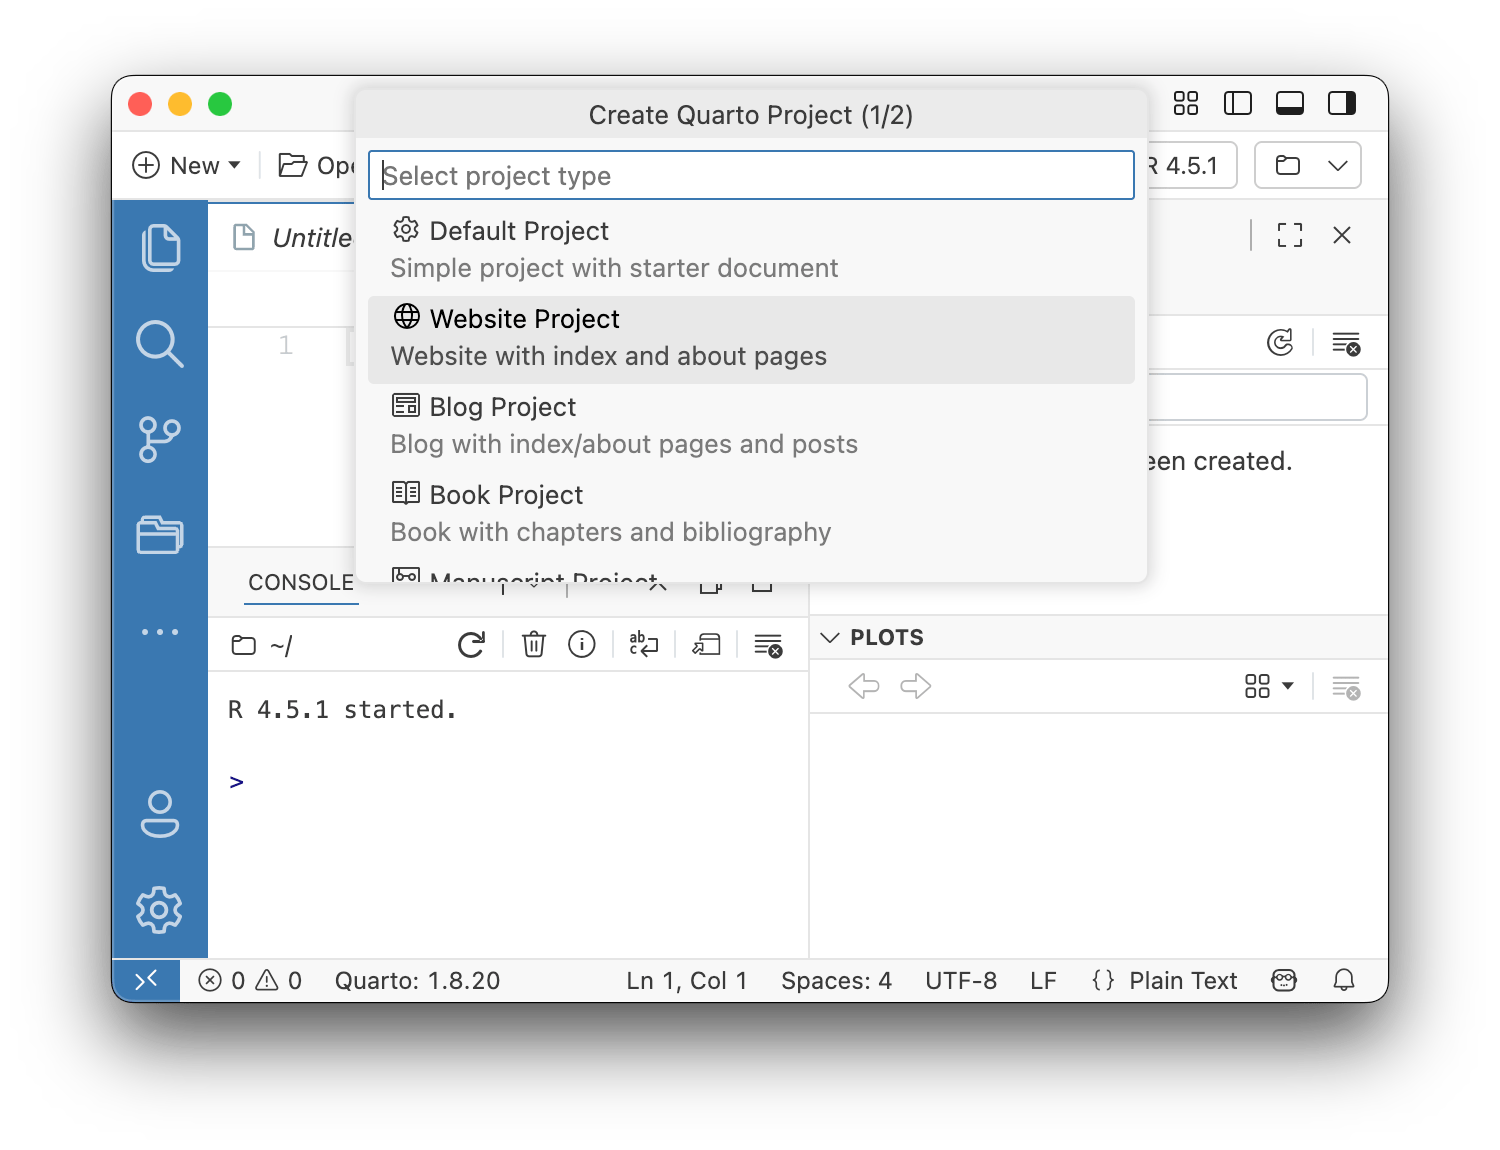
File > New Project > New Directory > Quarto Website
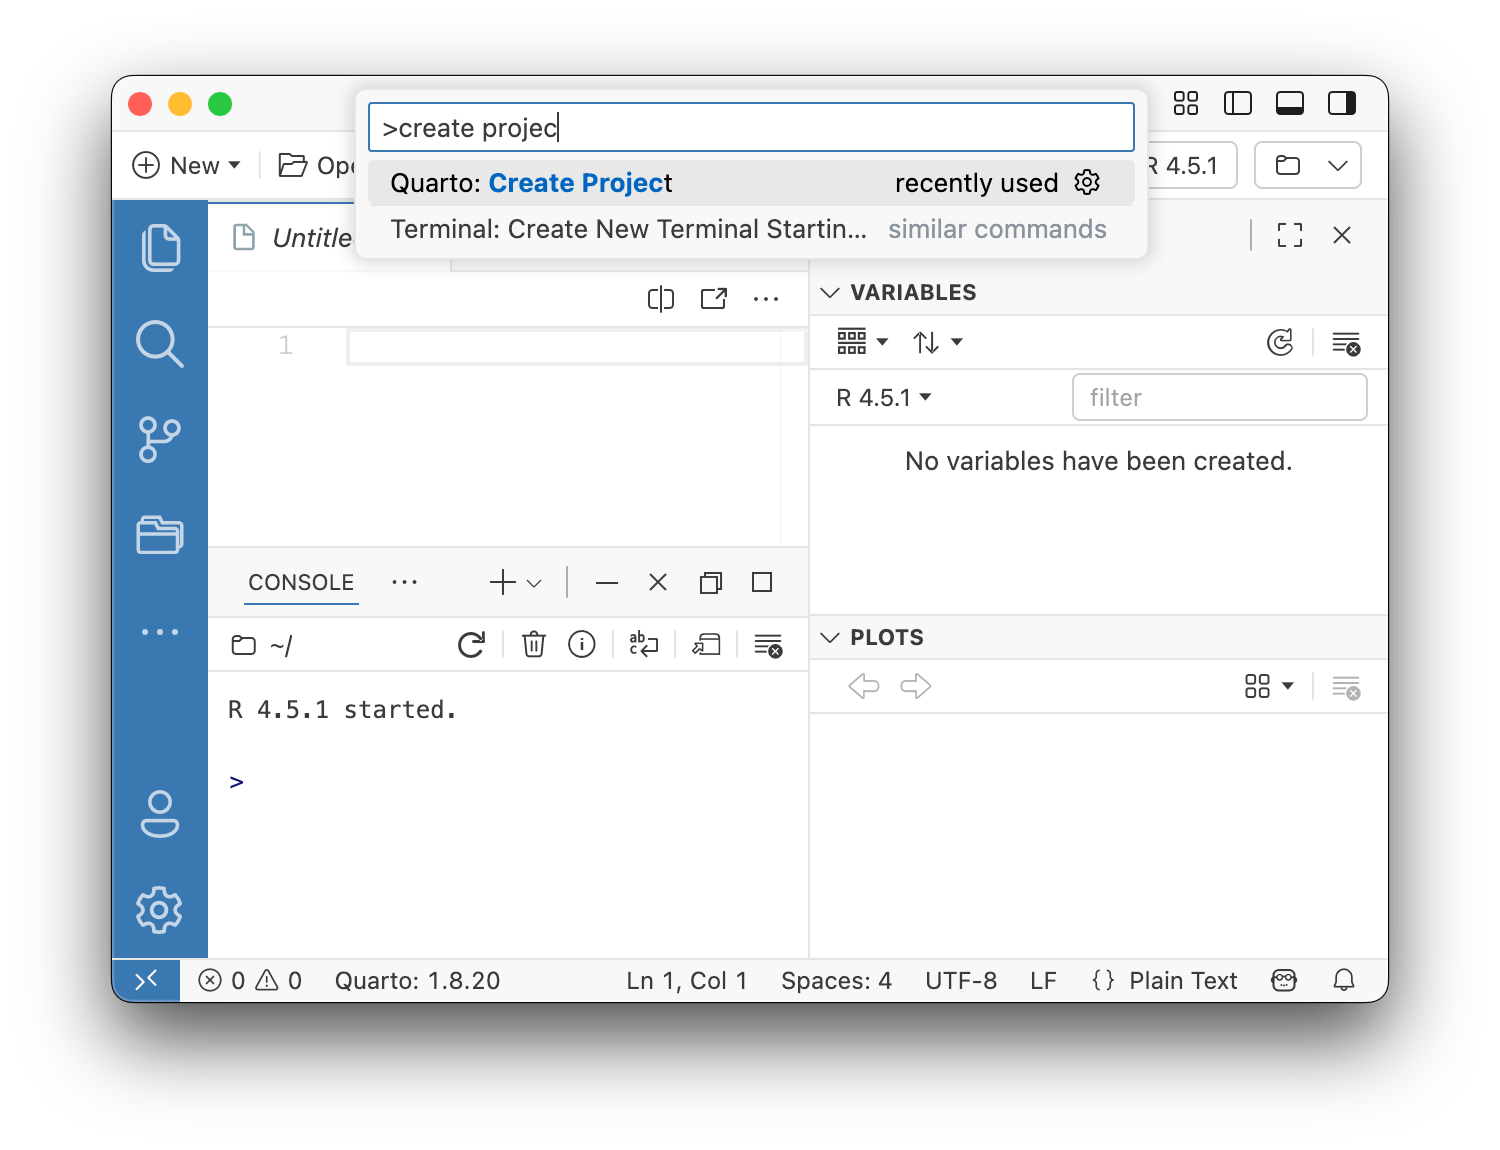
Open the Command Palette ( ⌘⇧P | Ctrl + Shift + P)
and start typing “create project”
Terminal
❯ quarto create project website my-site
# ? Title (my-site) › My site
# Creating project at /Users/andrew/Desktop/my-site:
#   - Created _quarto.yml
#   - Created index.qmd
#   - Created about.qmd
#   - Created styles.css
# ? Open With › (don't open)
Creating a project skeleton
my-site/
├── _quarto.yml
├── about.qmd
├── index.qmd
├── styles.css
└── testing.Rproj  ← if made with RStudio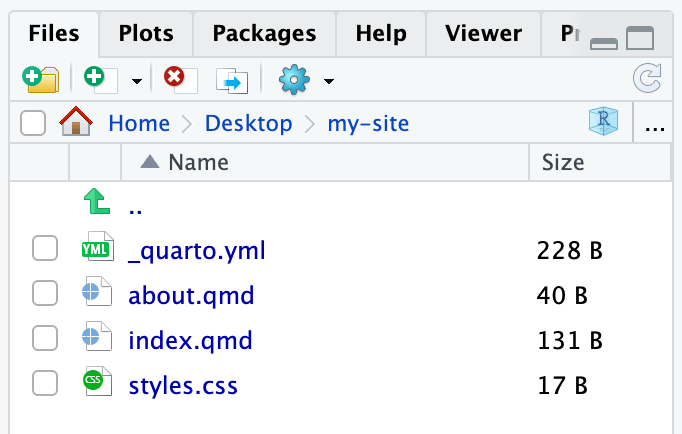


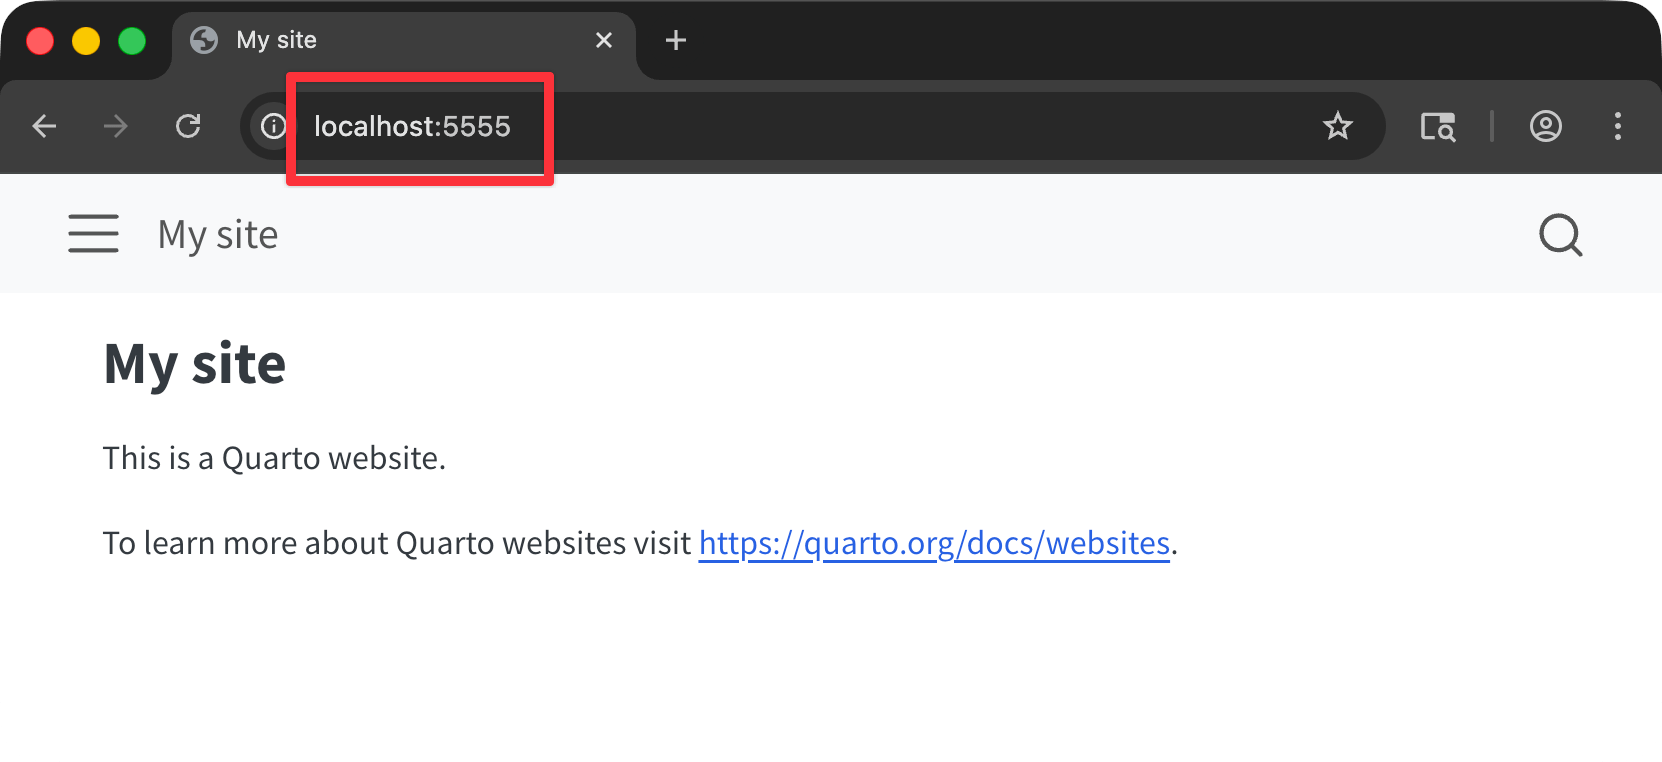
Preview
Current page

⌘⇧K
Ctrl + Shift + K
Whole site
Build > Render Website


Requires Quarto Extension for VS Code
Project settings
Don’t memorize this stuff!
Answer
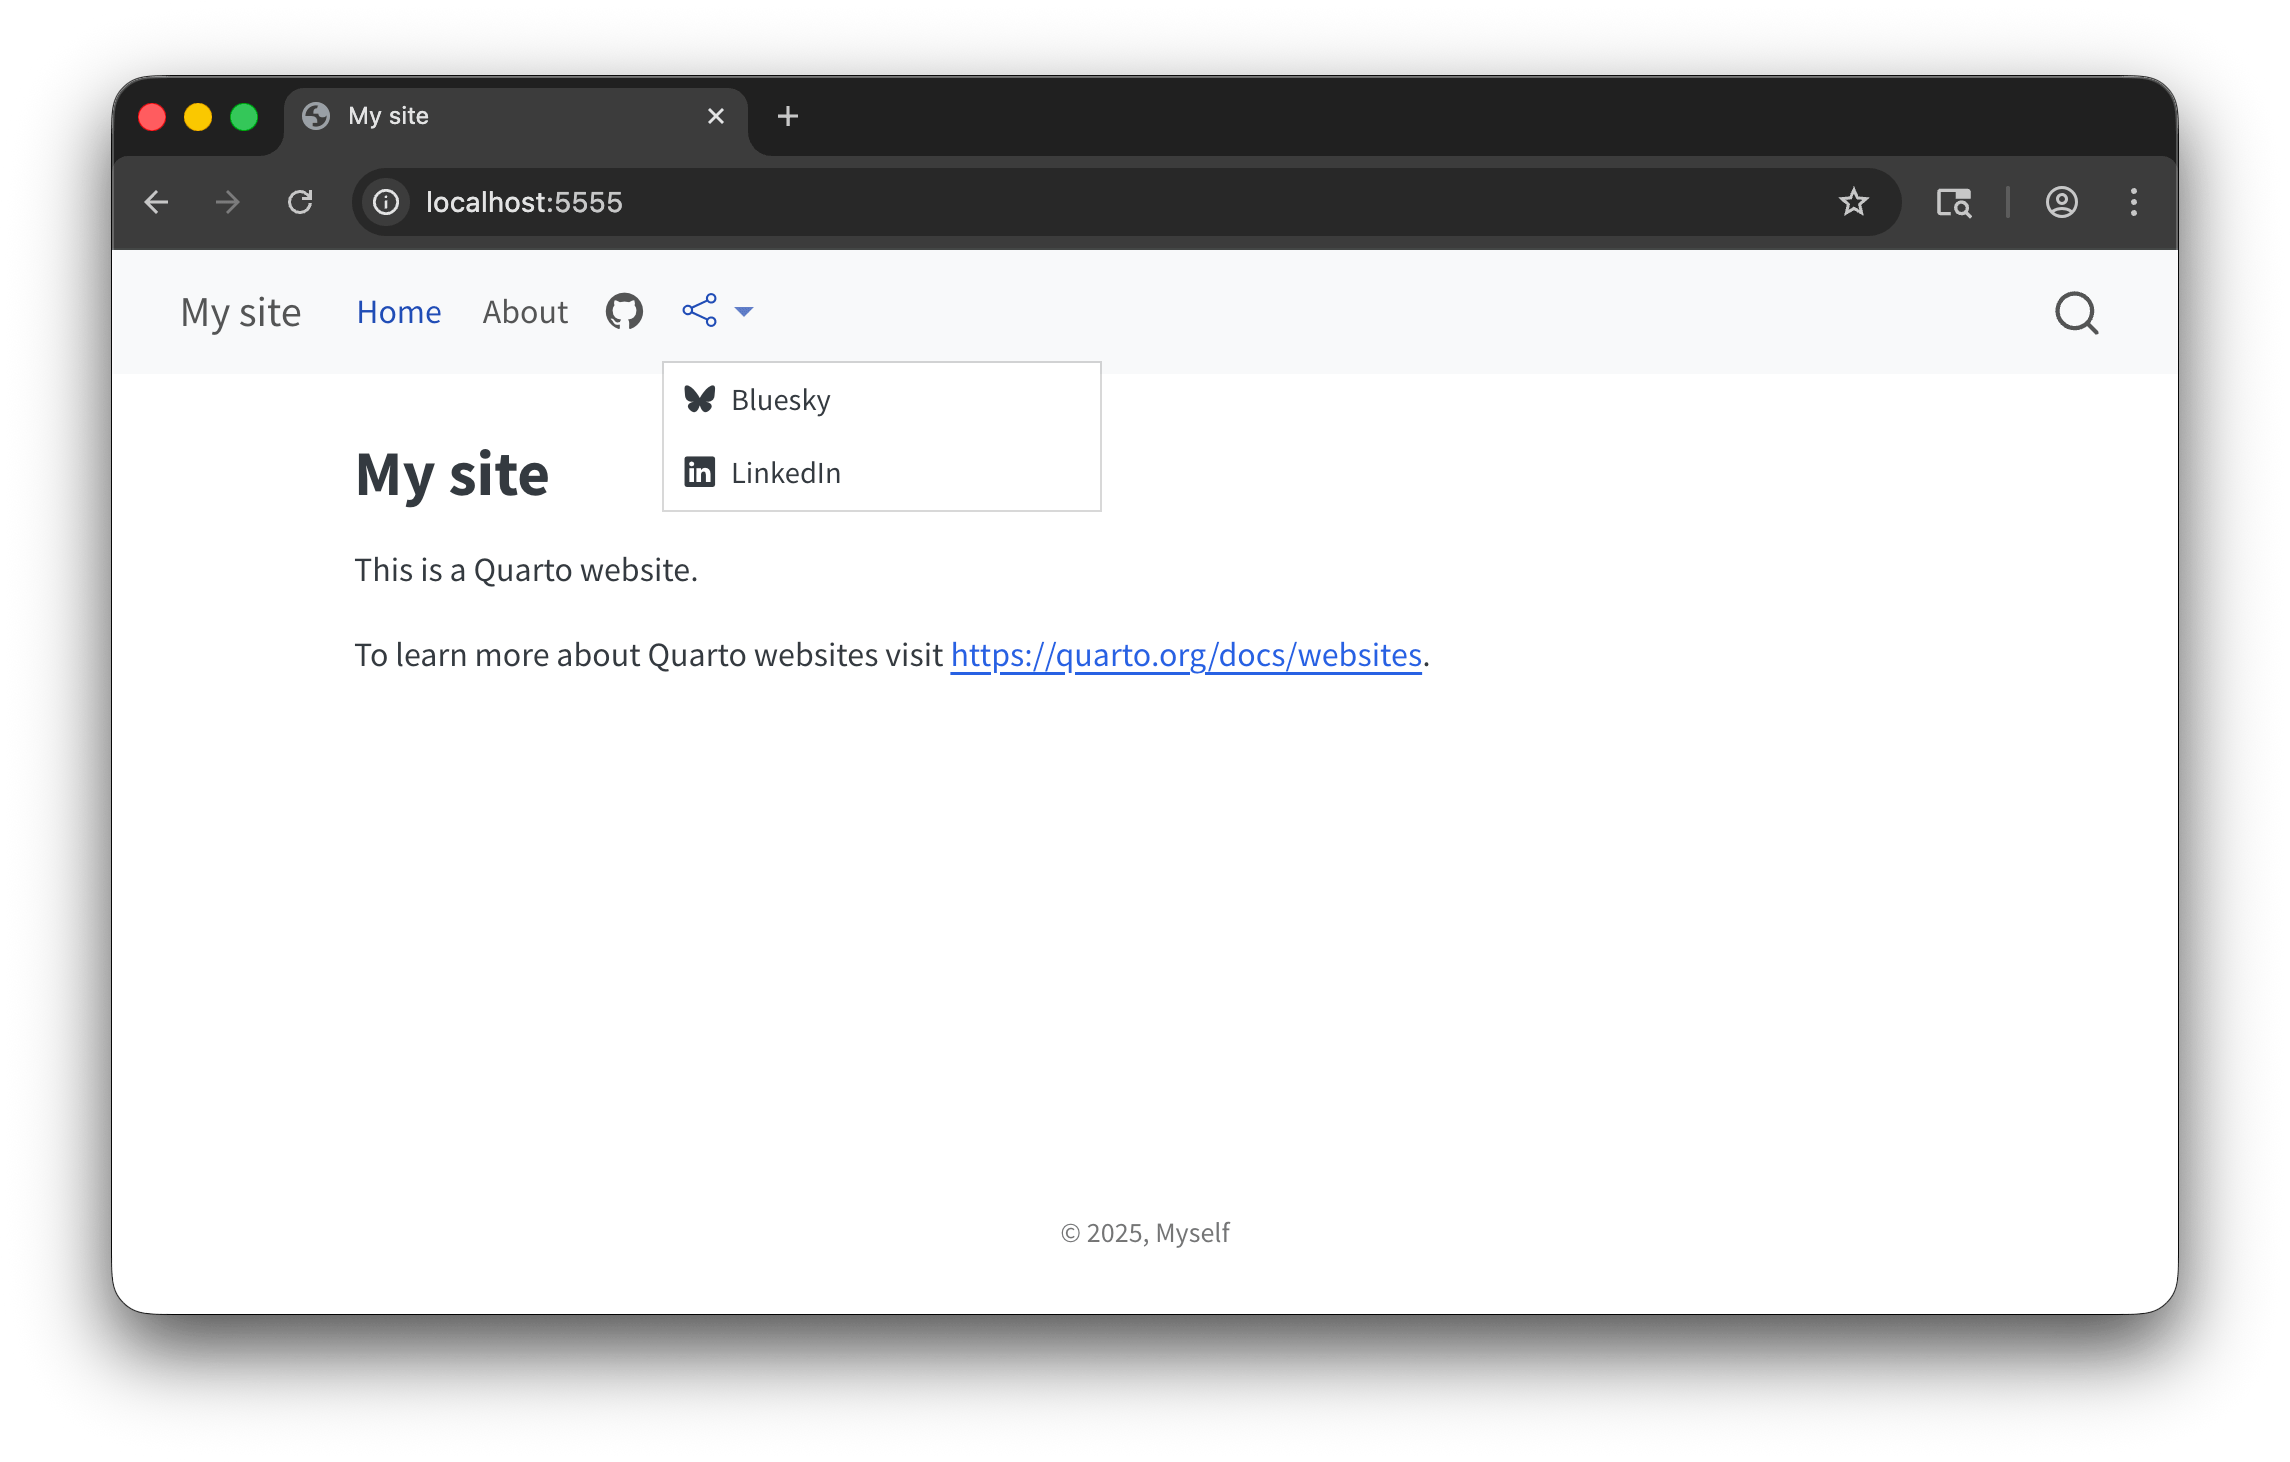
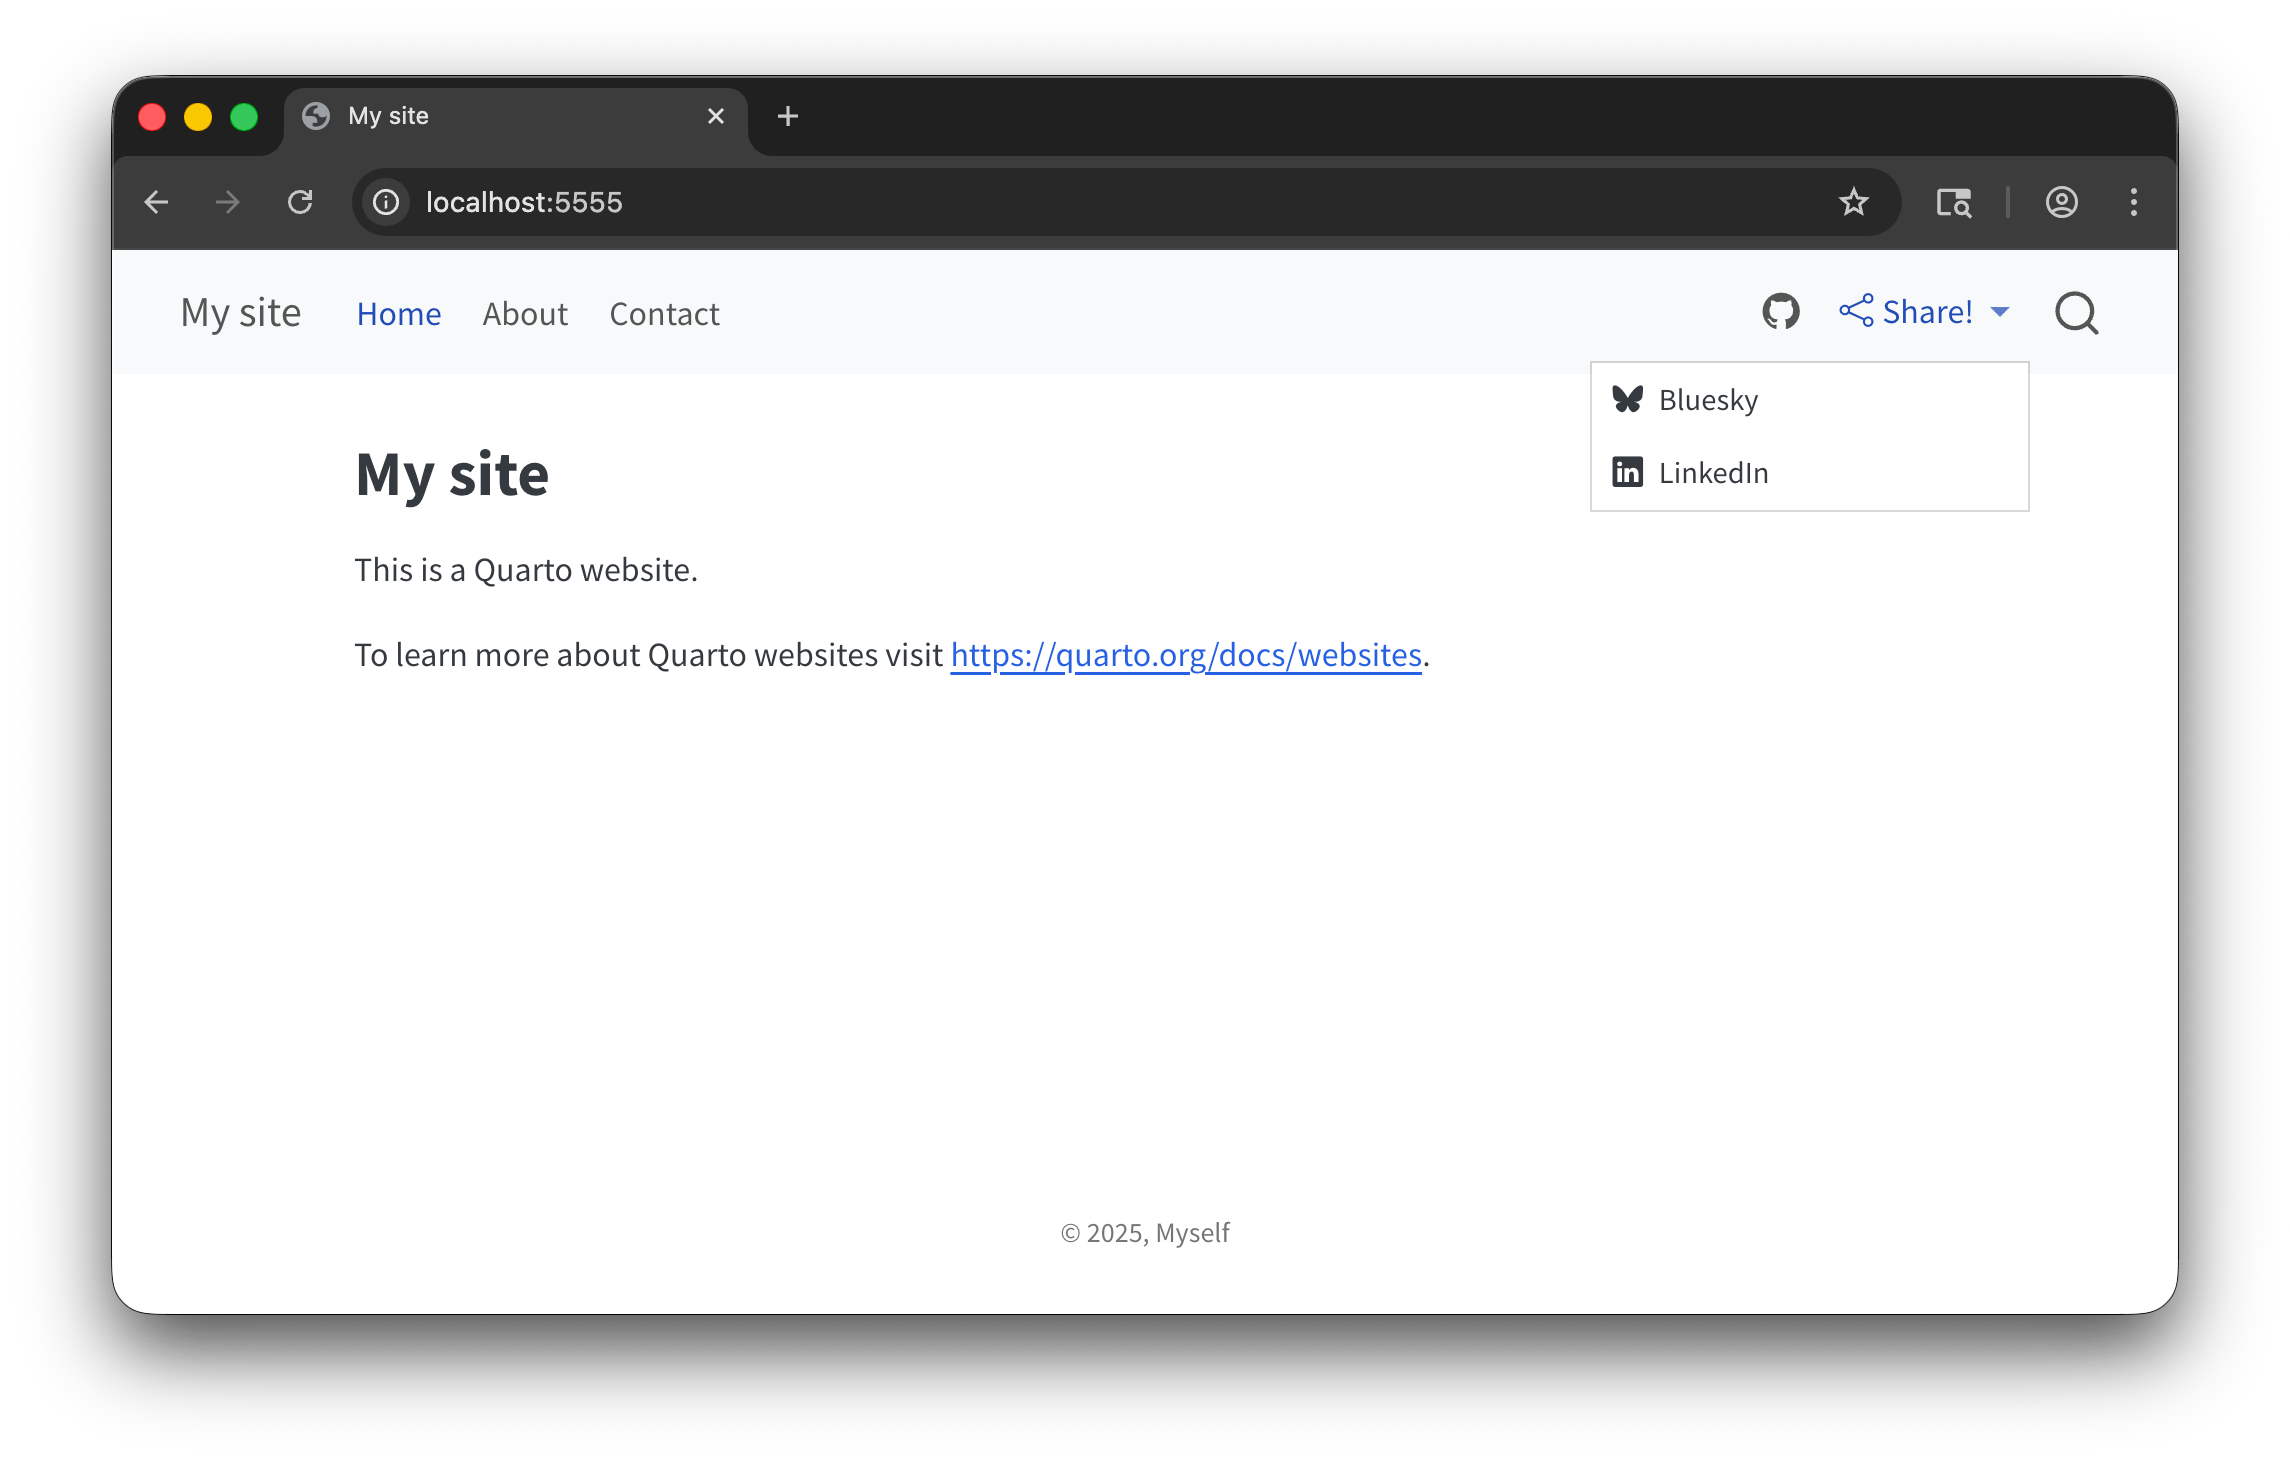
Top navigation

Add new page
Icons
Dropdowns
Don’t memorize this stuff!
Answer
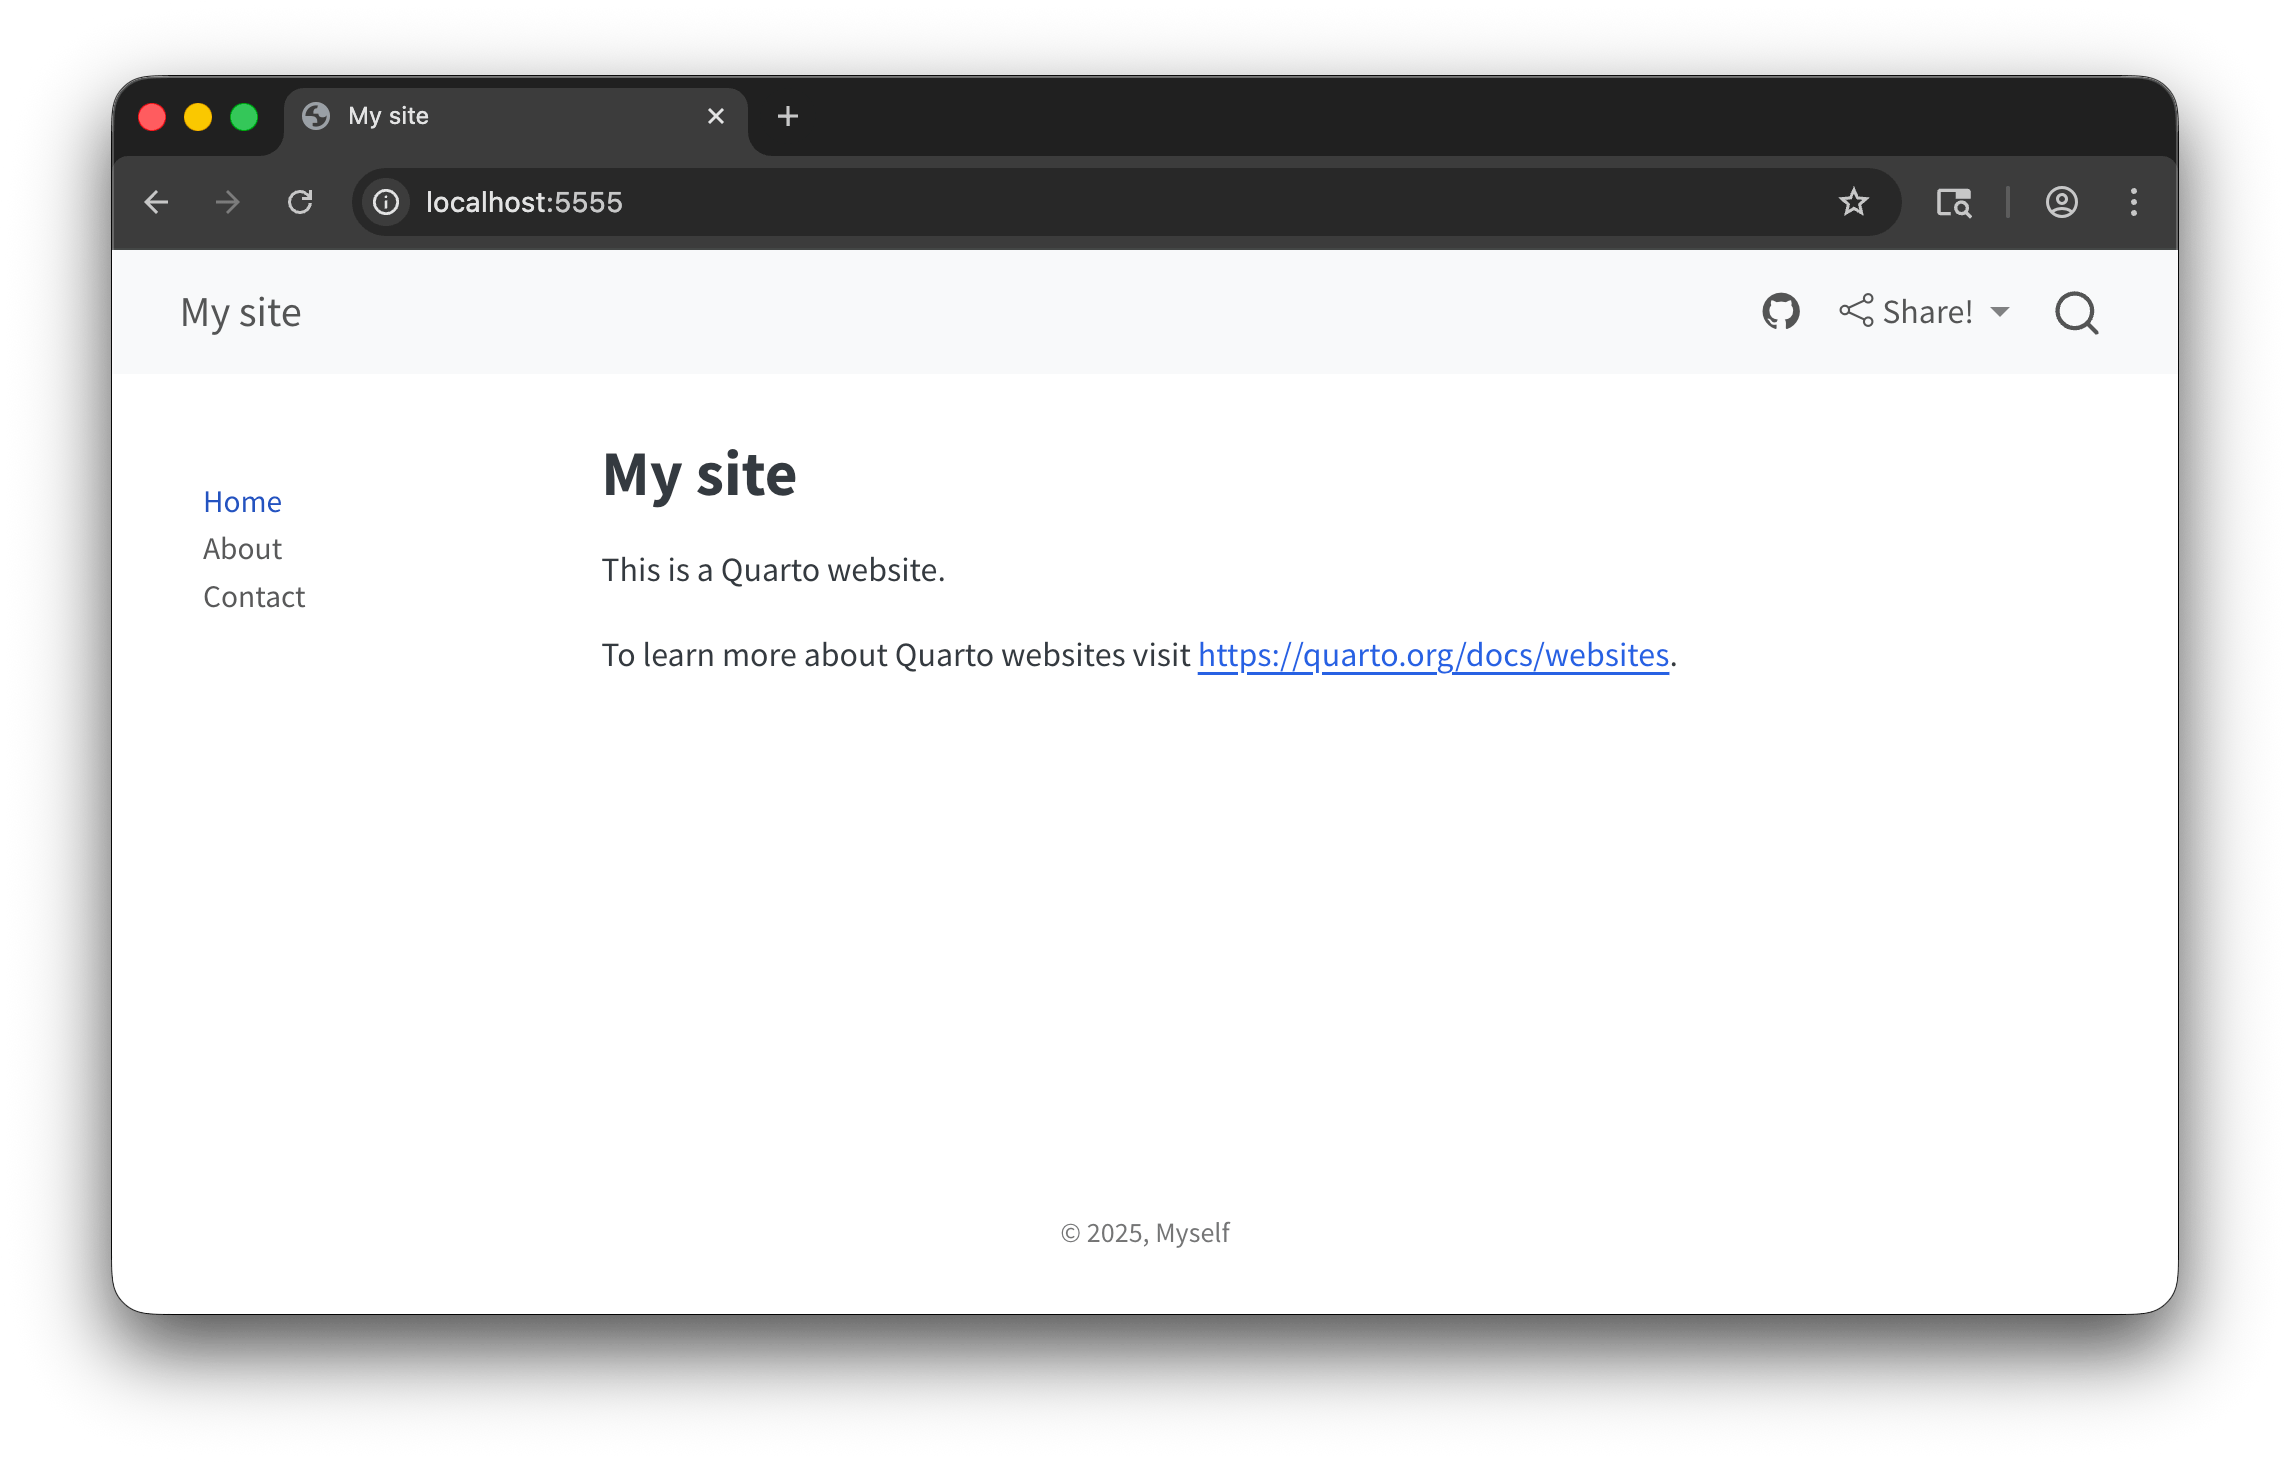
Side navigation
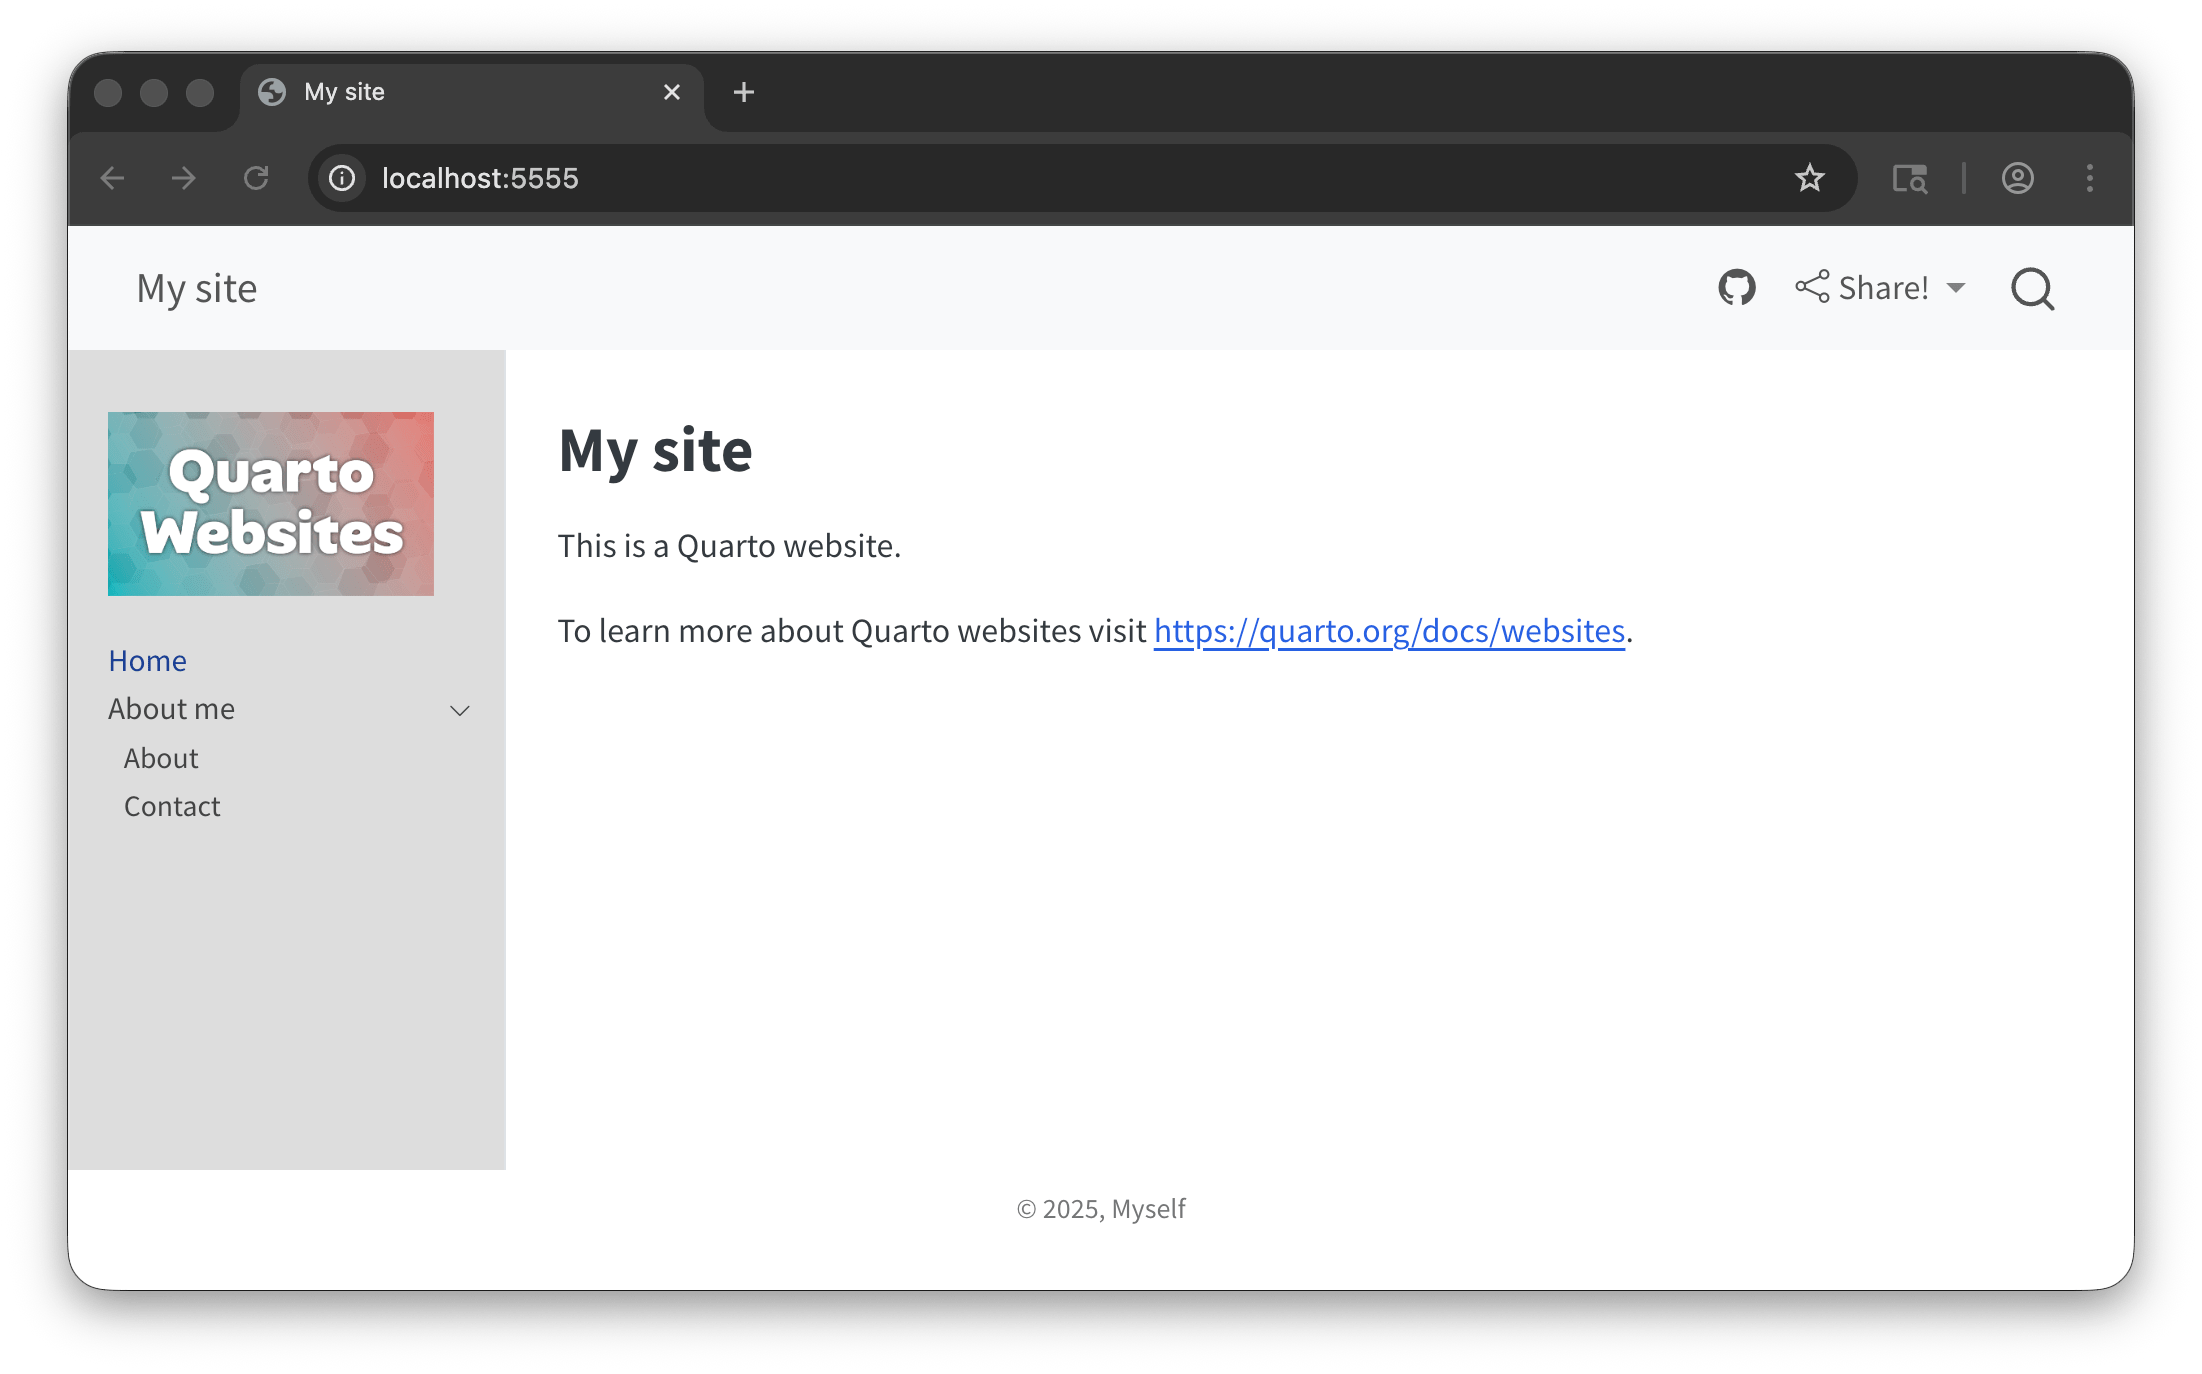
Side navigation and sections

Side navigation and other settings
Don’t memorize this stuff!
Answer
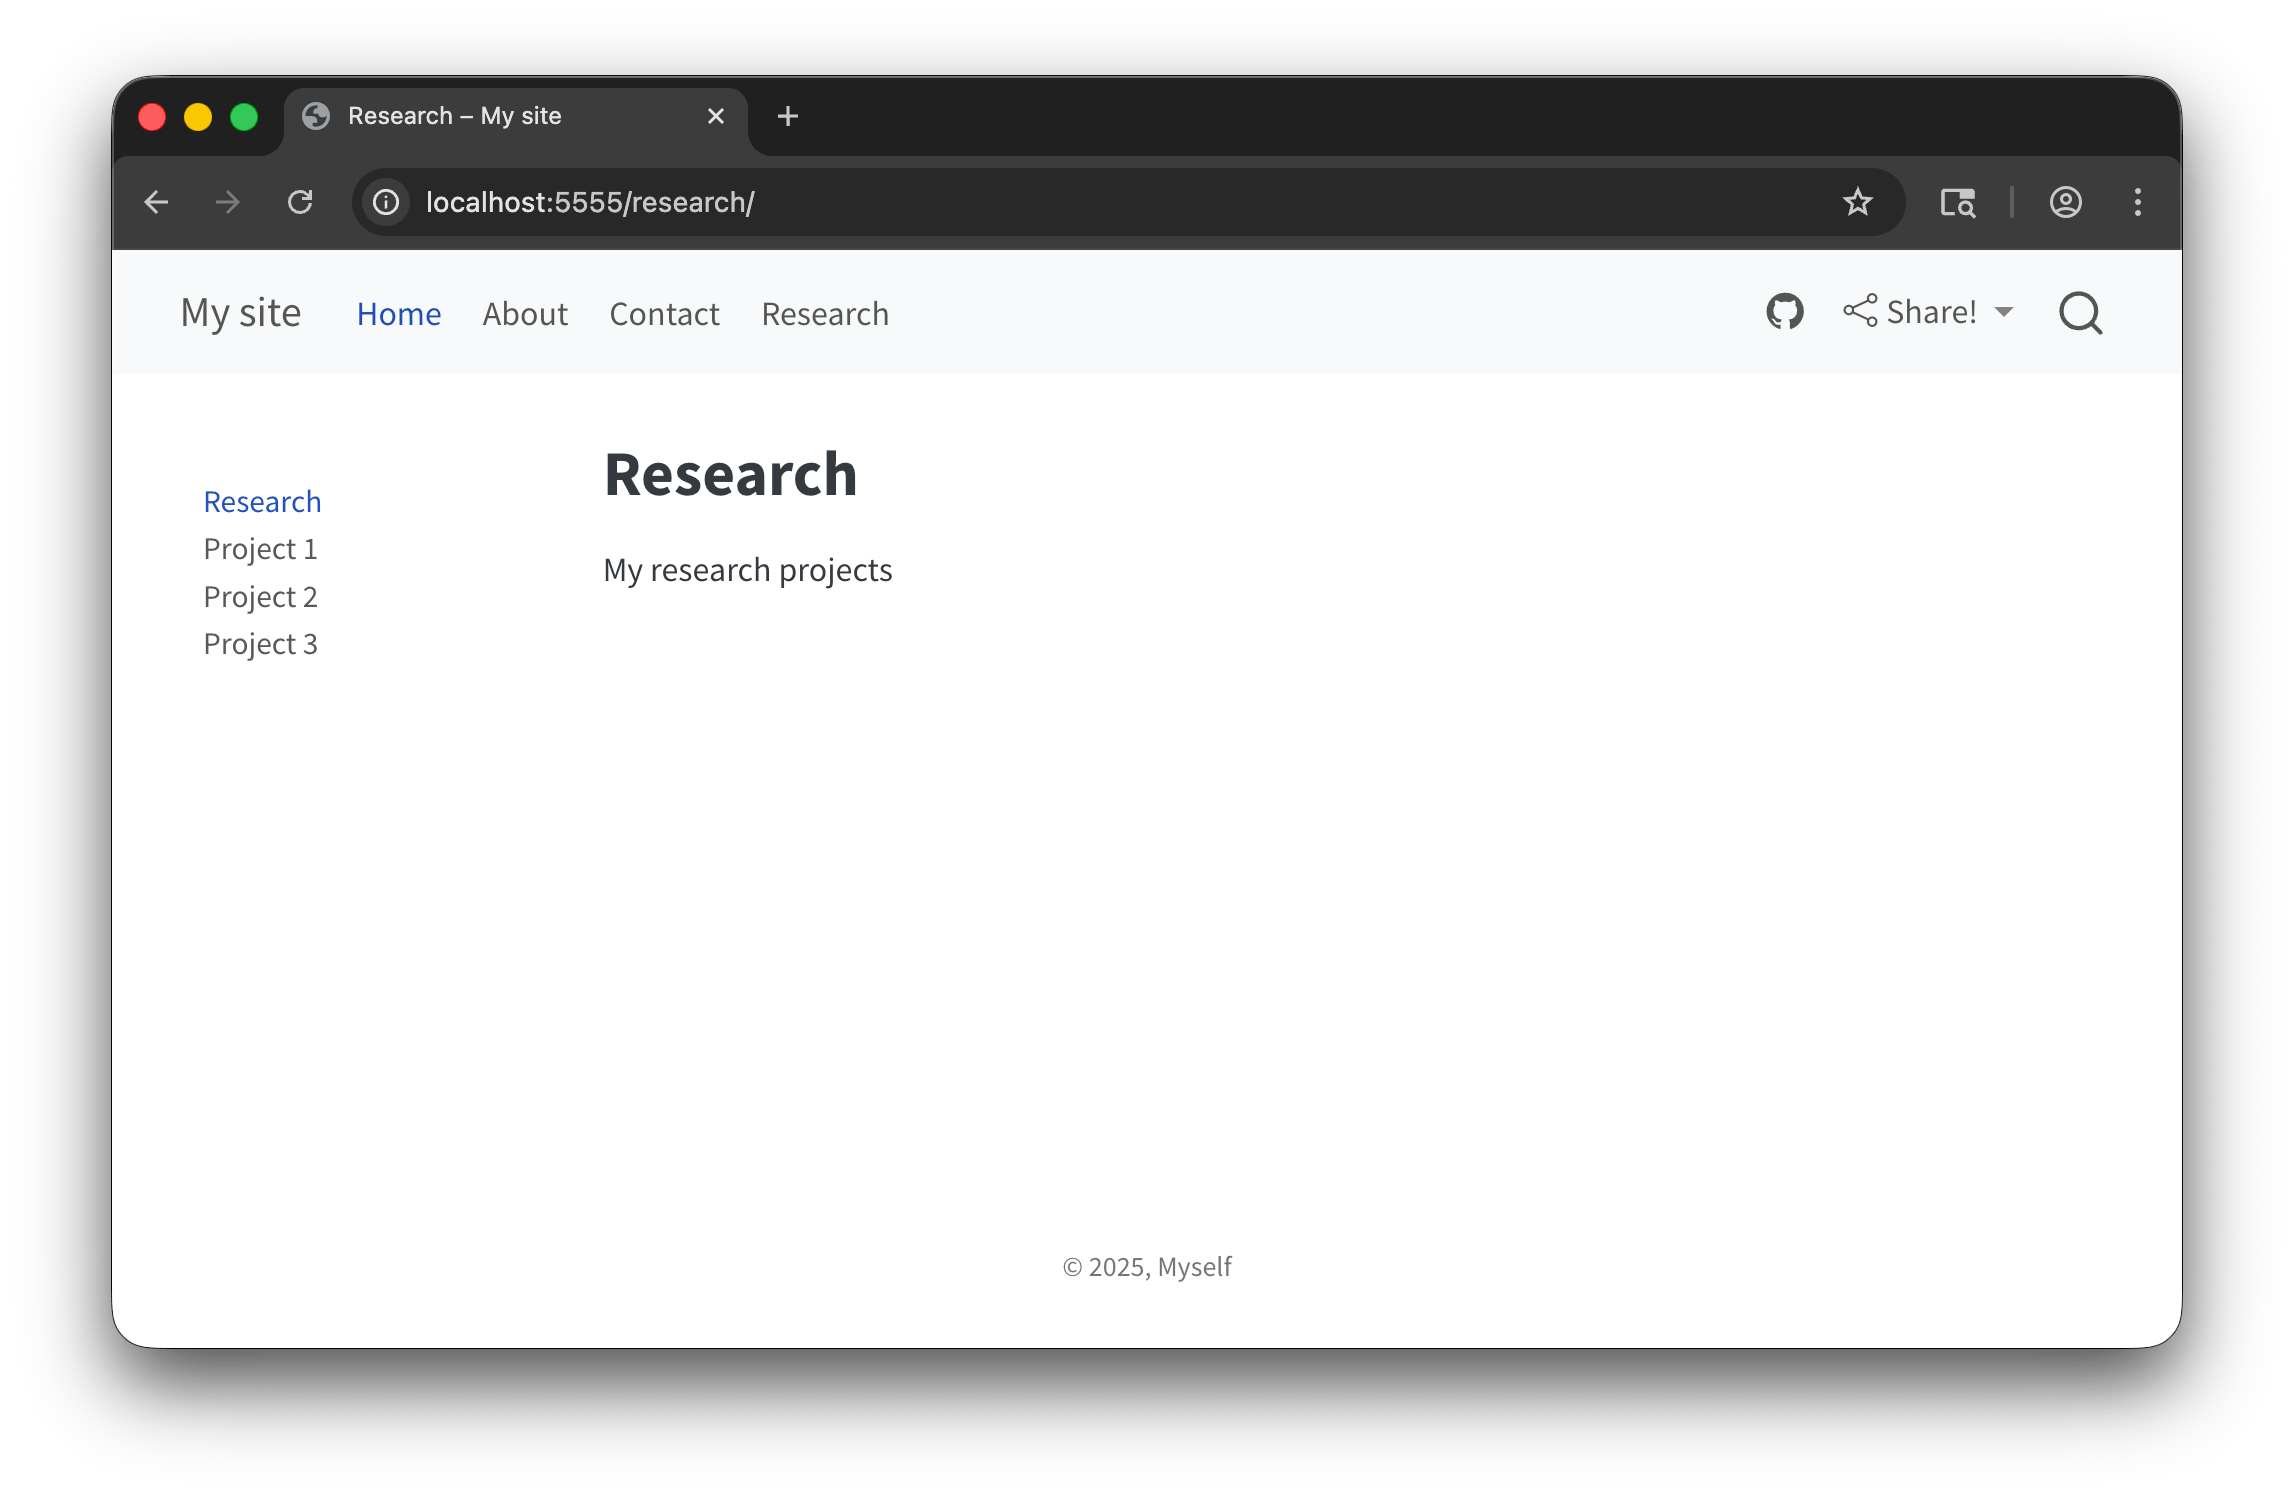
Listing pages
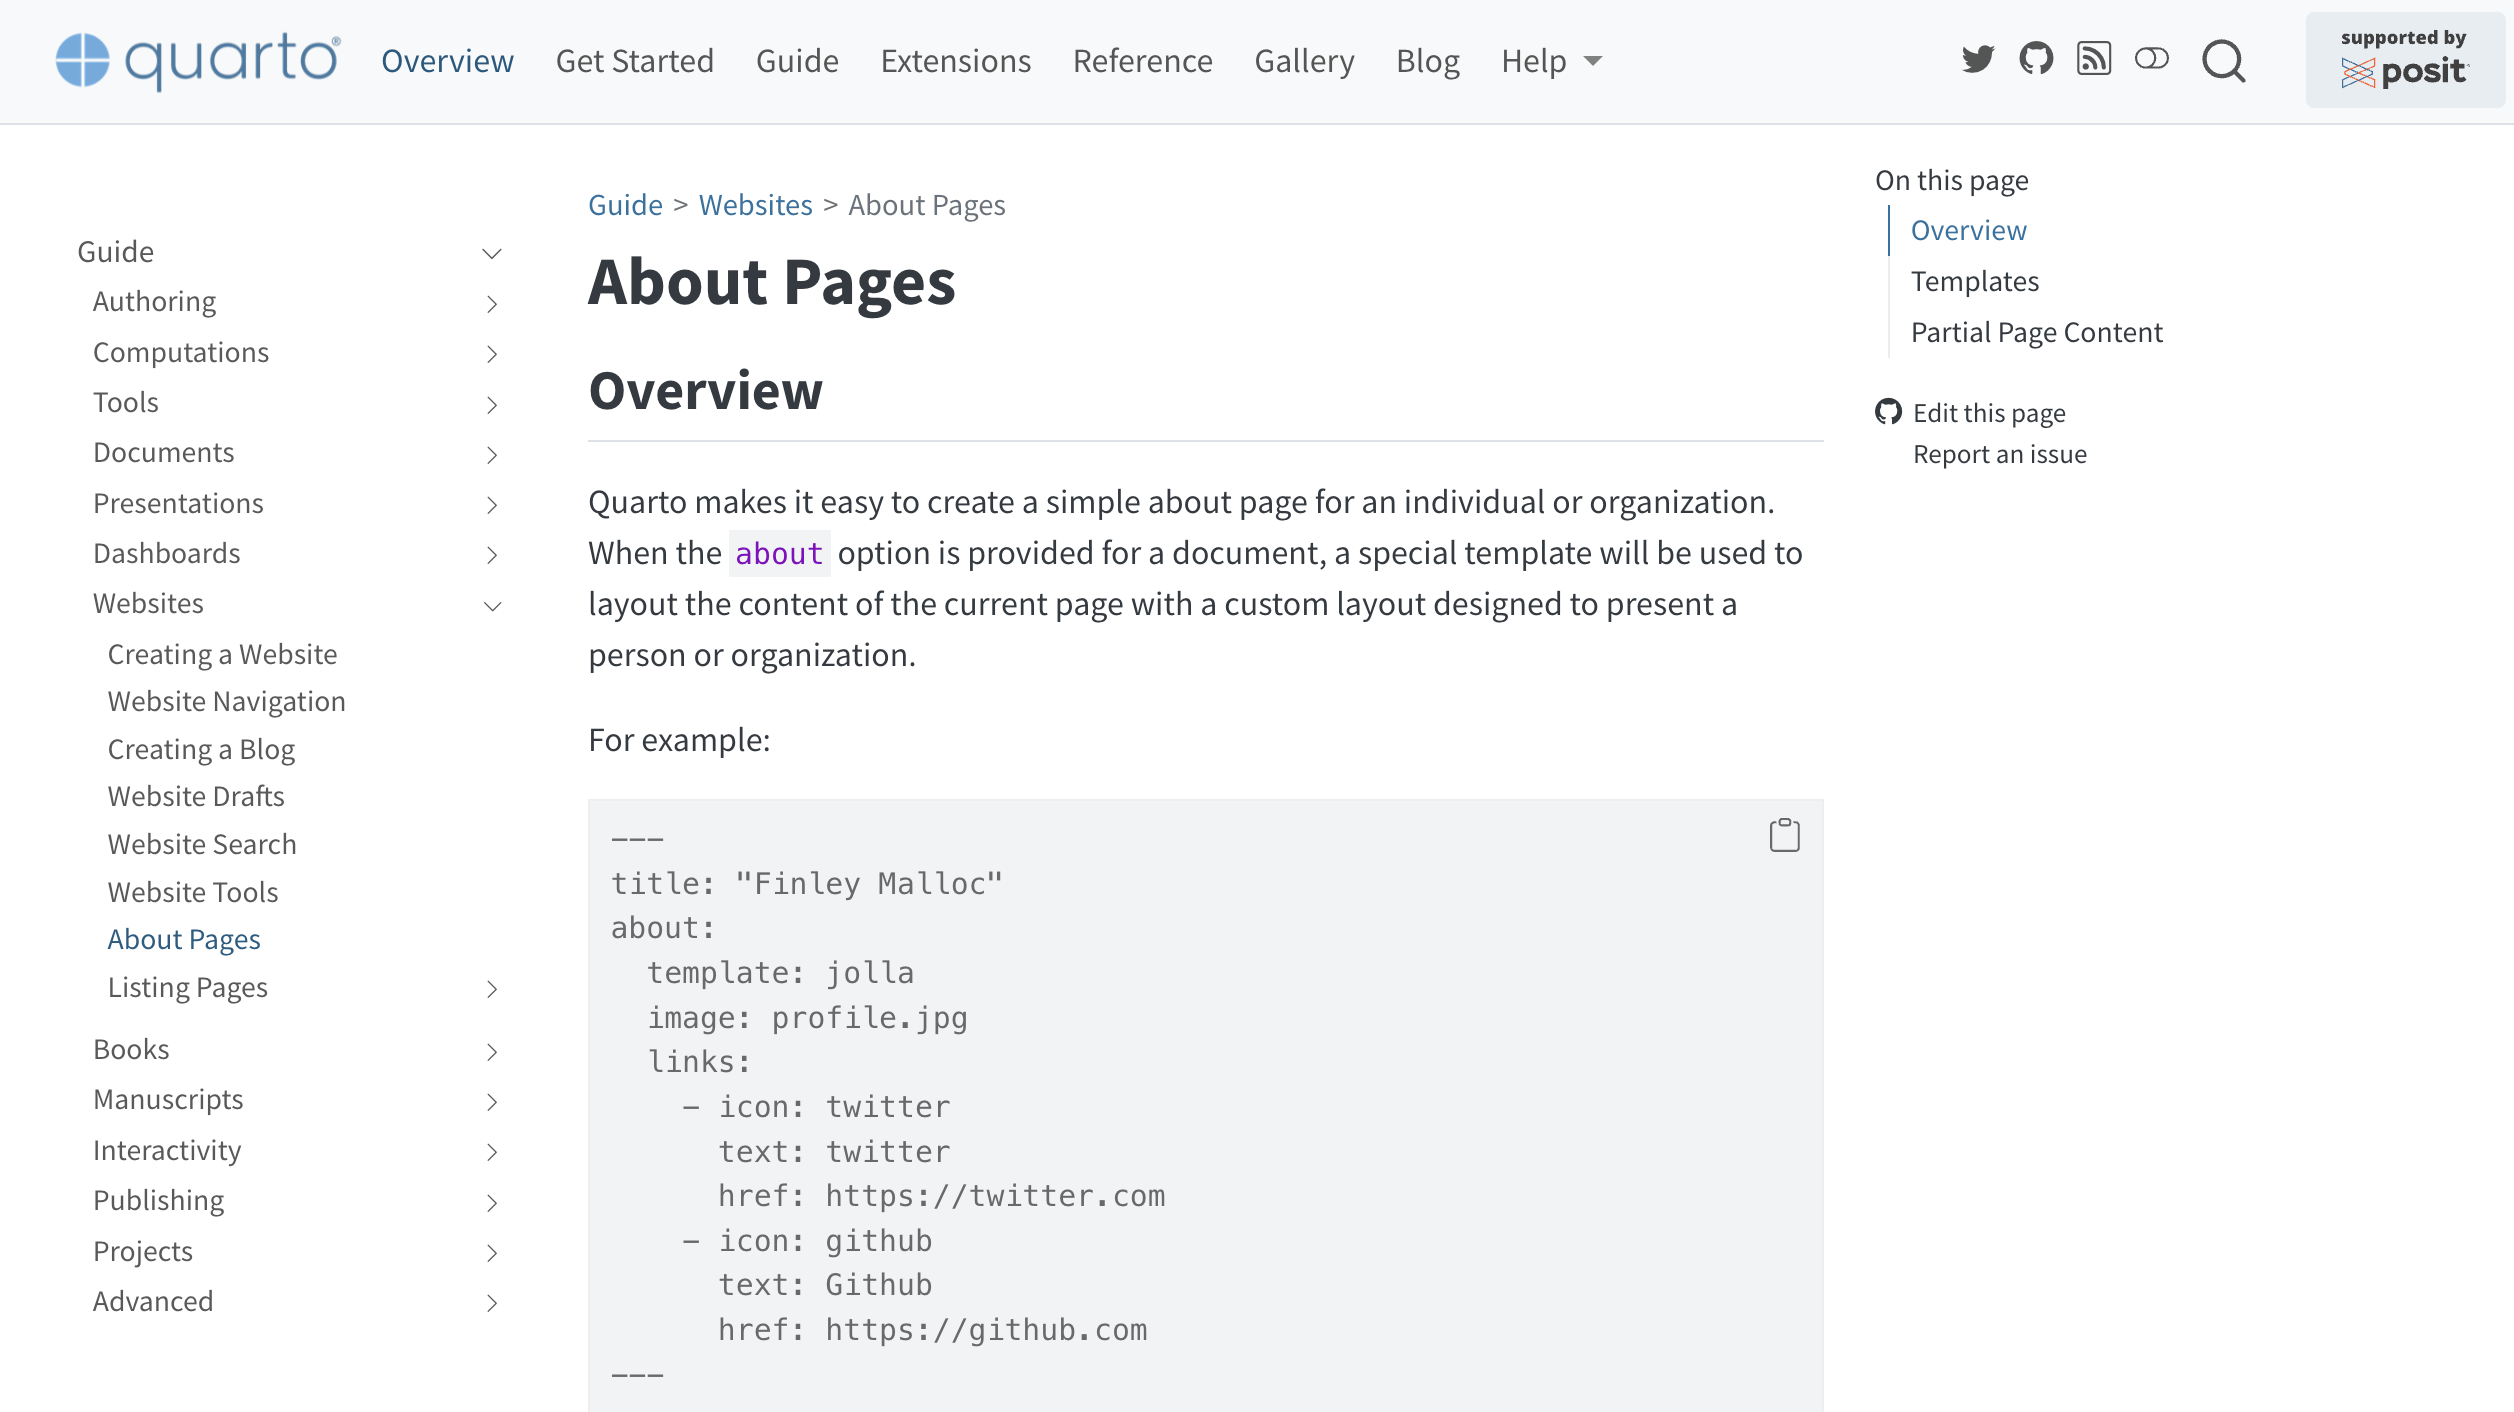
About pages
about.qmd
---
title: "Ada Lovelace"
about:
  template: solana
  image: img/ada-lovelace.jpg
  links:
    - icon: wikipedia
      text: Wikipedia
      href: https://en.wikipedia.org/wiki/Ada_Lovelace
toc: false
---

## Background

Augusta Ada King, Countess of Lovelace (née Byron; 10 December 1815 – 27 November 1852), also known as Ada Lovelace, was an English mathematician and writer chiefly known for her work on Charles Babbage's proposed mechanical general-purpose computer, the Analytical Engine. She was the first to recognise that the machine had applications beyond pure calculation. Ada Lovelace is sometimes considered to be the first computer programmer.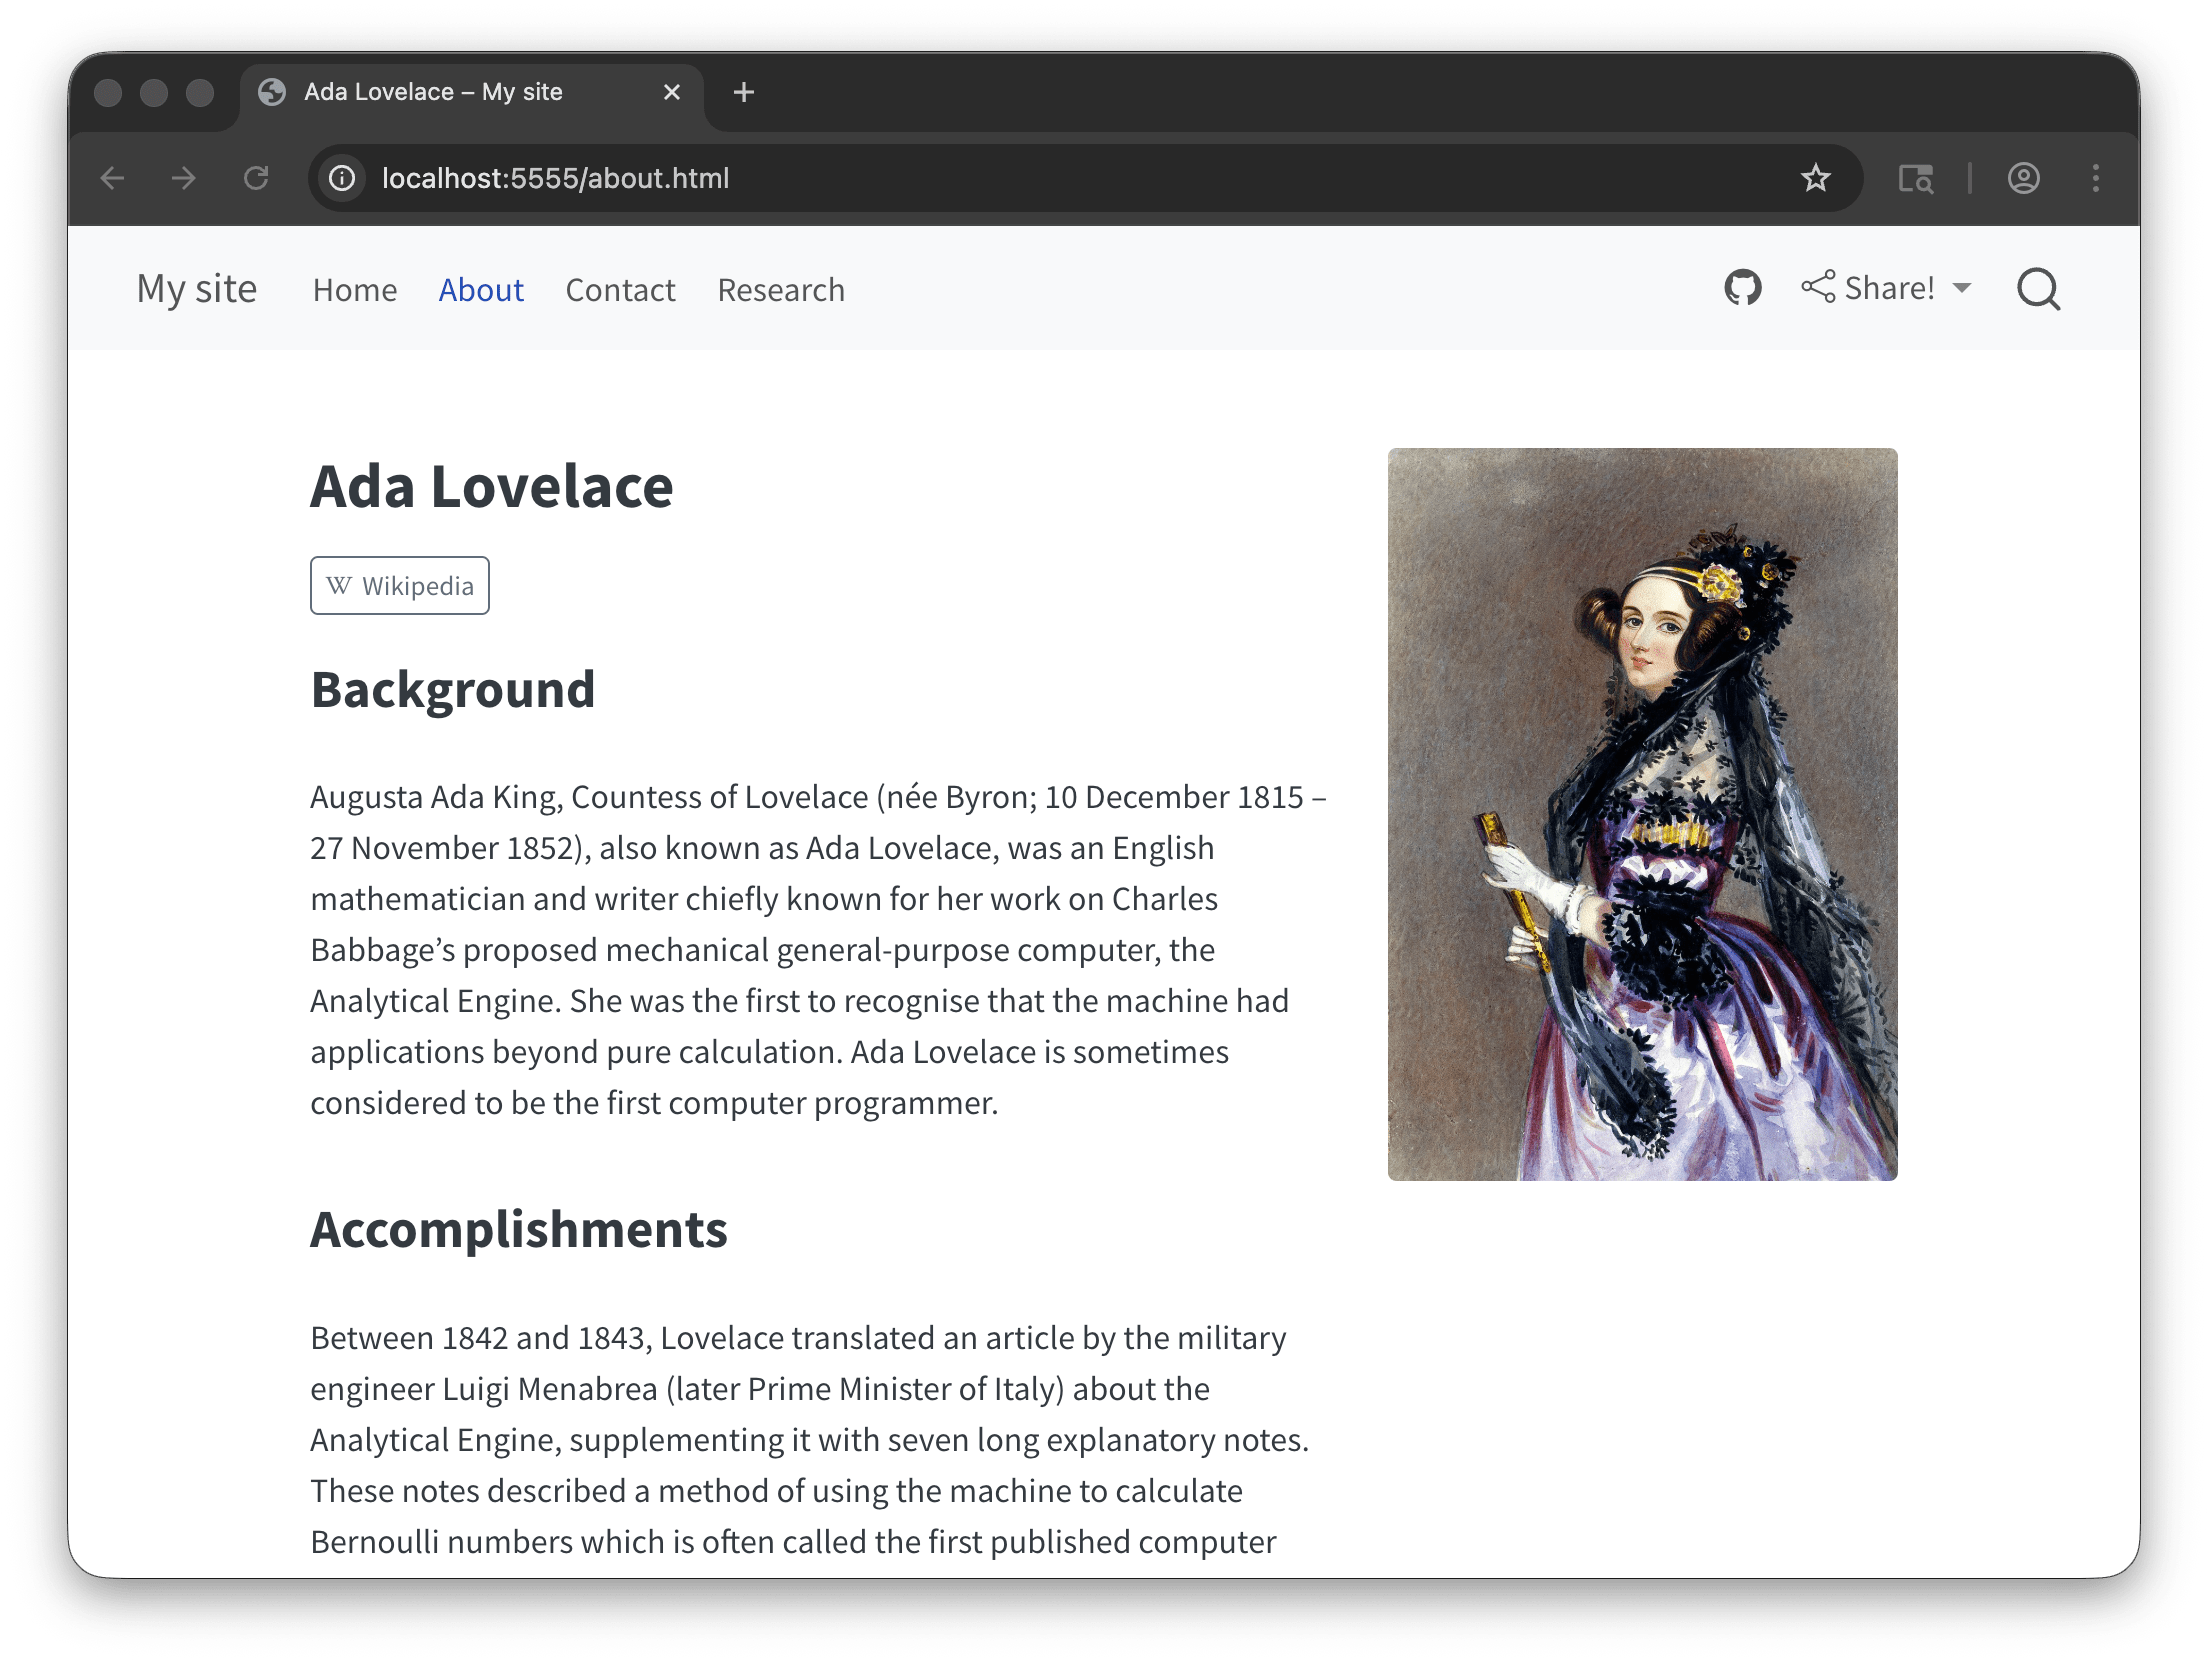
Don’t memorize this stuff!